Hosting Server 4Free - Google Cloud
How to create a Linux virtual machine instance on Compute Engine using the Google Cloud Console within the Free Tier.
We are not responsible for charges or improper configurations in your Google Cloud platform, this guide is only intended to give a hint of an opportunity and possibility of hosting.
The following guide was based and had several excerpts taken from https://linuxhint.com/setup_google_cloud_server.
What Is Google Cloud?

Launched in 2008, Google Cloud is a comprehensive cloud computing suite running on the same powerful global infrastructure Google uses for its central products, including Google Search and YouTube.
Google Cloud provides secure storage, powerful compute, and integrated data analytics products that can satisfy the needs of everyone from individual home users to larger enterprises.
Some of the most noteworthy use cases of Google Cloud include web hosting, deployment of globally available apps, fully managed cloud data warehouse, machine learning, shared gaming experiences, and automation of repetitive tasks, just to give a few examples.
With Google Cloud, anyone can easily spin up a virtual machine in seconds and use it as a worry-free alternative to a physical server. Because all resources are virtualized, it’s possible to effortlessly add more processing power or storage on demand, so you always pay only for what you use.
Best of all, all new Google Cloud users receive a $300 credit that can be used with any Google Cloud service. To be eligible for the bonus credit, you have to be a new Google Cloud customer and set up a billing account by providing your credit card information, which is required to verify that you’re not a bot.
Setting Up a Google Cloud Server from Scratch for nanos world
Google has made it very easy to set a new Google Cloud server from scratch, and the whole process shouldn’t take you more than 15 minutes from start to finish.
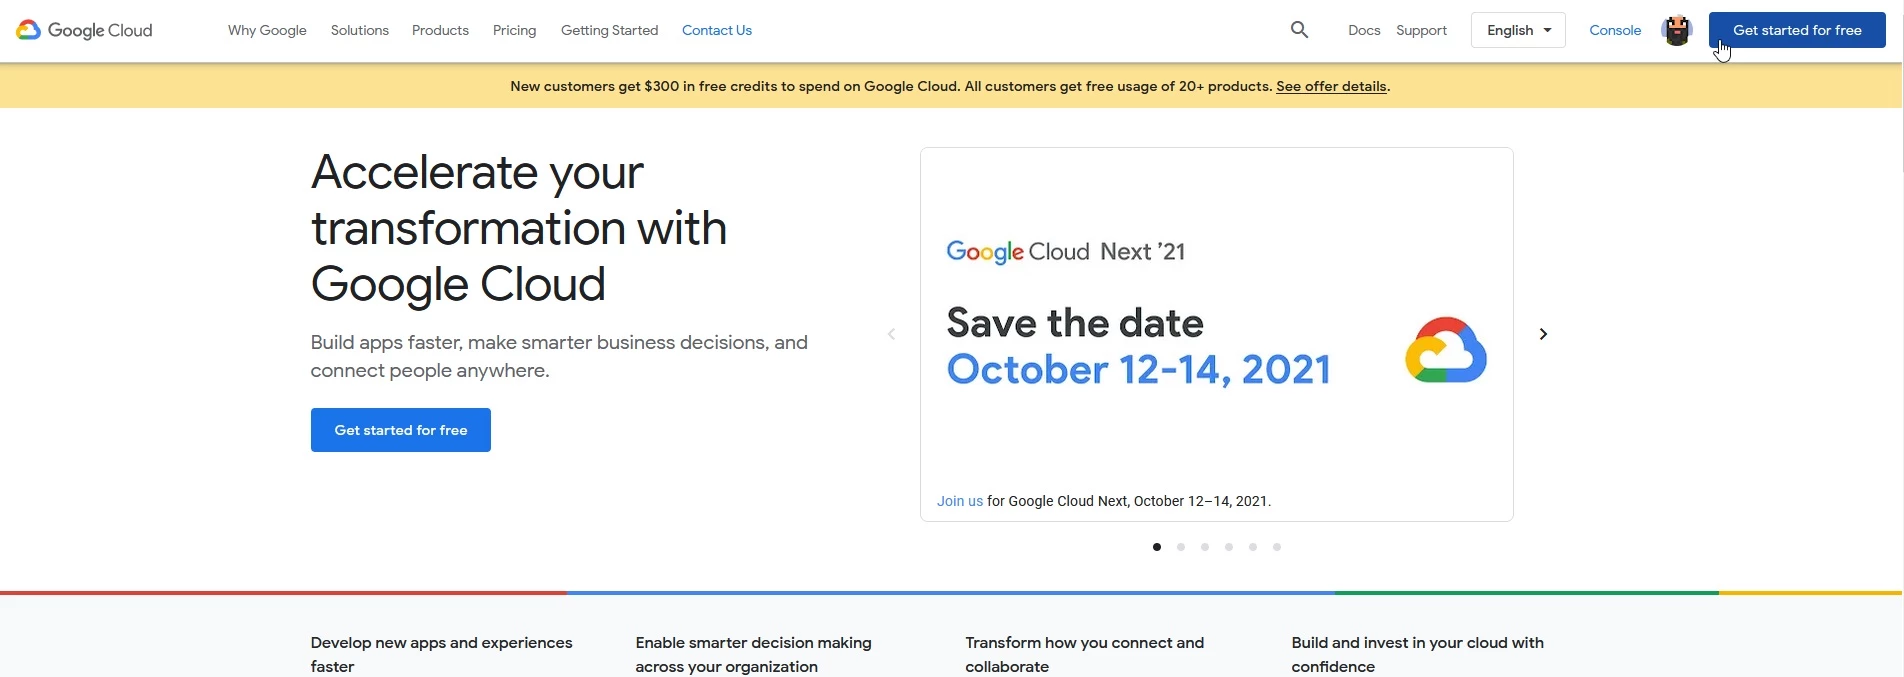
Step 1: Sign In to Google Cloud
At https://console.cloud.google.com, click on Get started for free located in the upper-right of the screen:
If you haven’t provided your credit card details to Google before, you will be asked to do so now. Don’t worry: Google won’t start charging you until you spend the $300 bonus, which you can do within a year. Furthermore, you have to manually upgrade to a paid account for Google to start charging you.
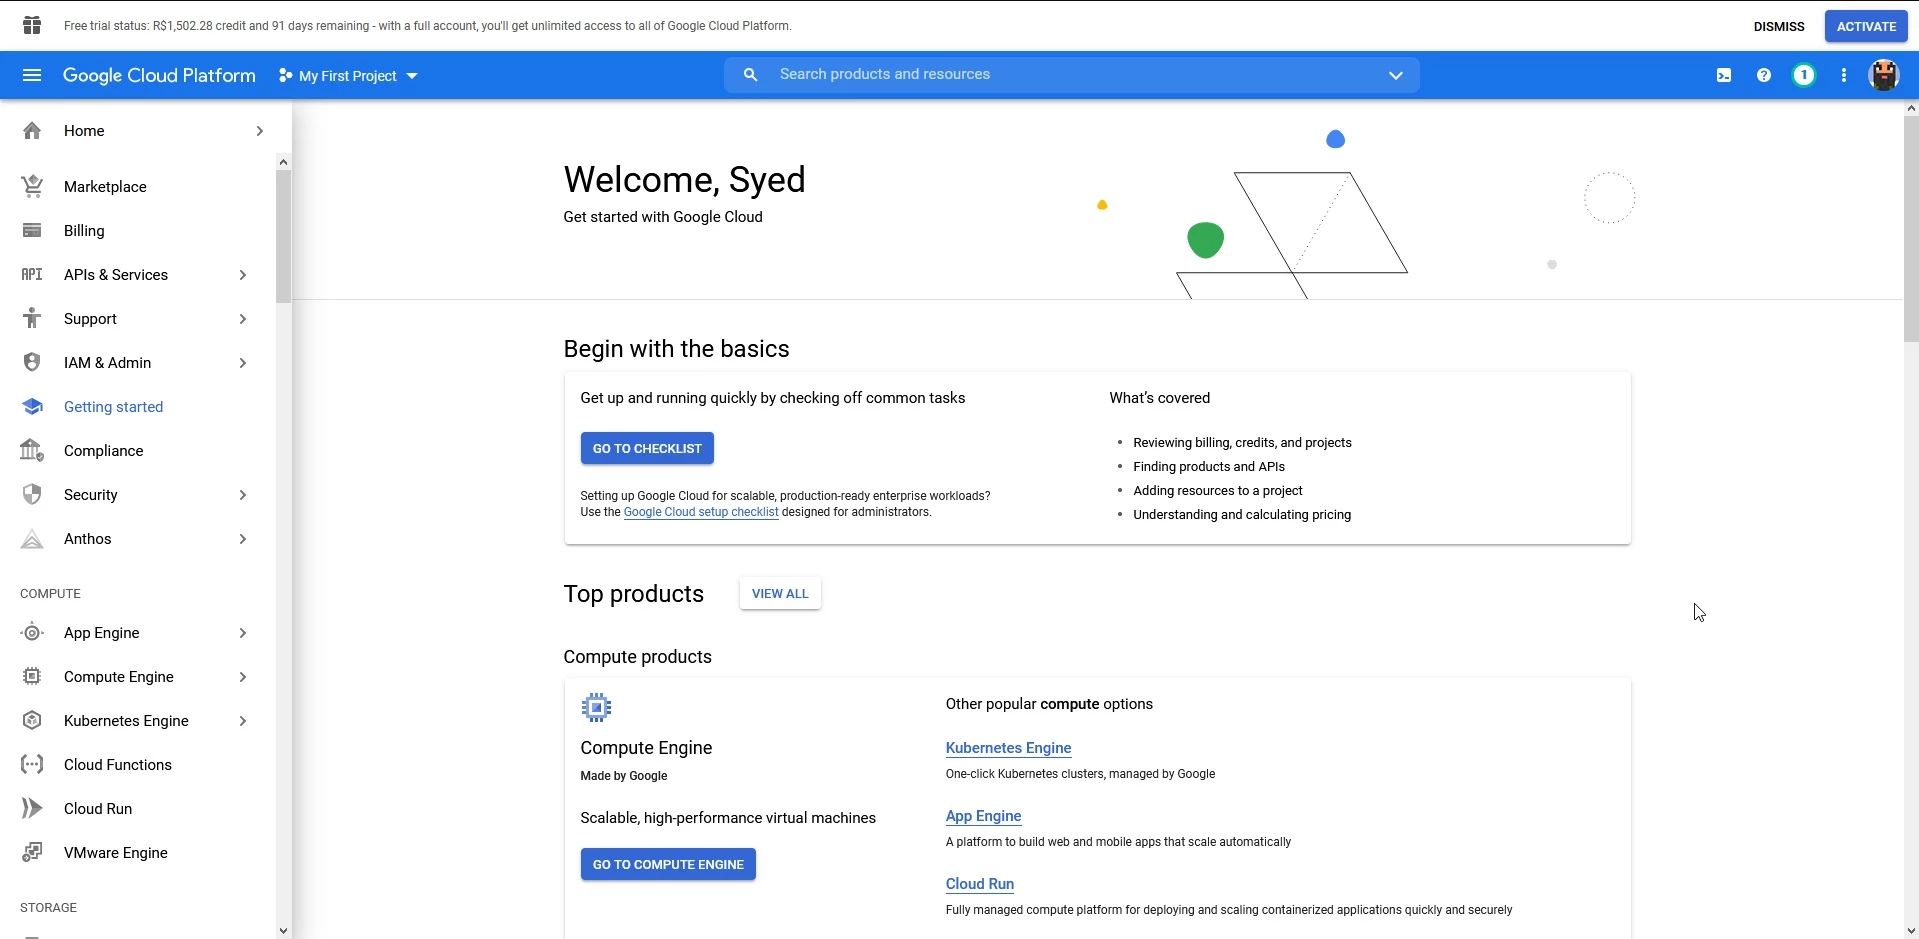
Step 2: Create a New Google Cloud Server
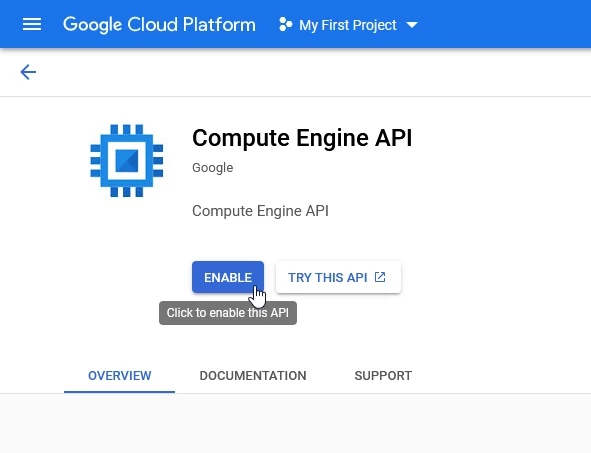
To create a new VM, select ‘Compute Engine’ and then ‘VM Instances’

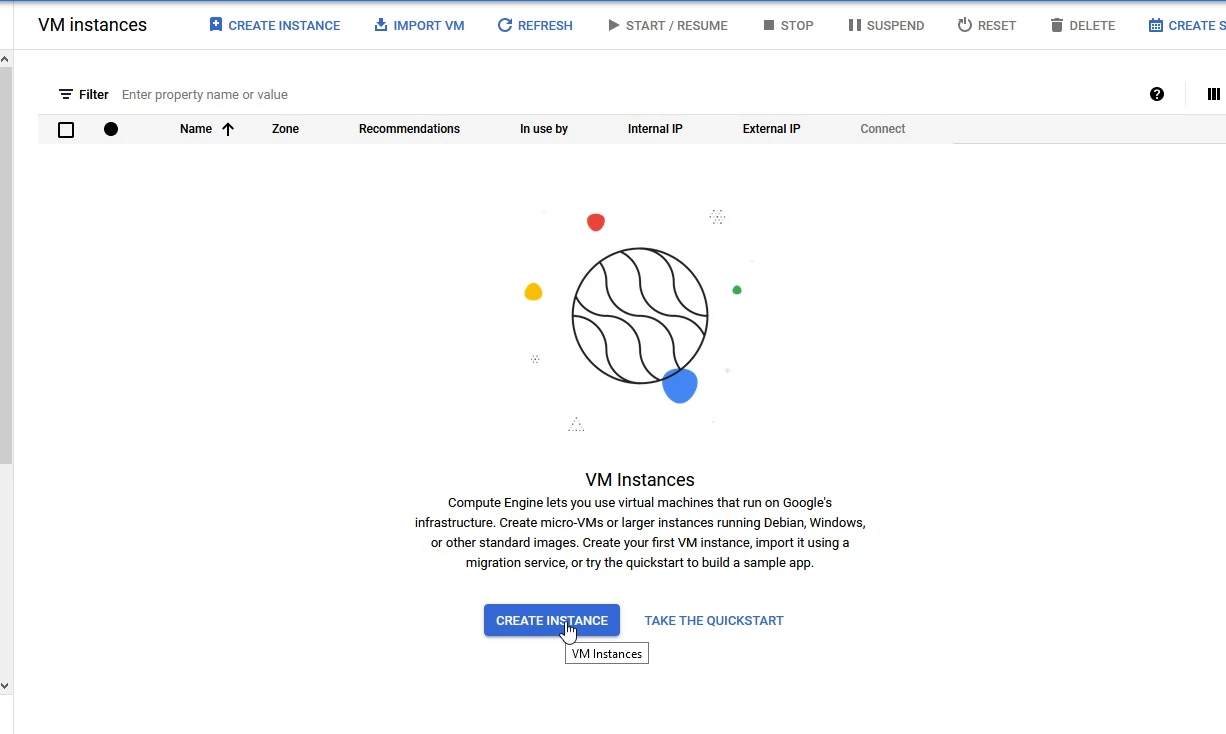
If it is not enabled yet, enable it and wait about 1-2 minutes to finish:
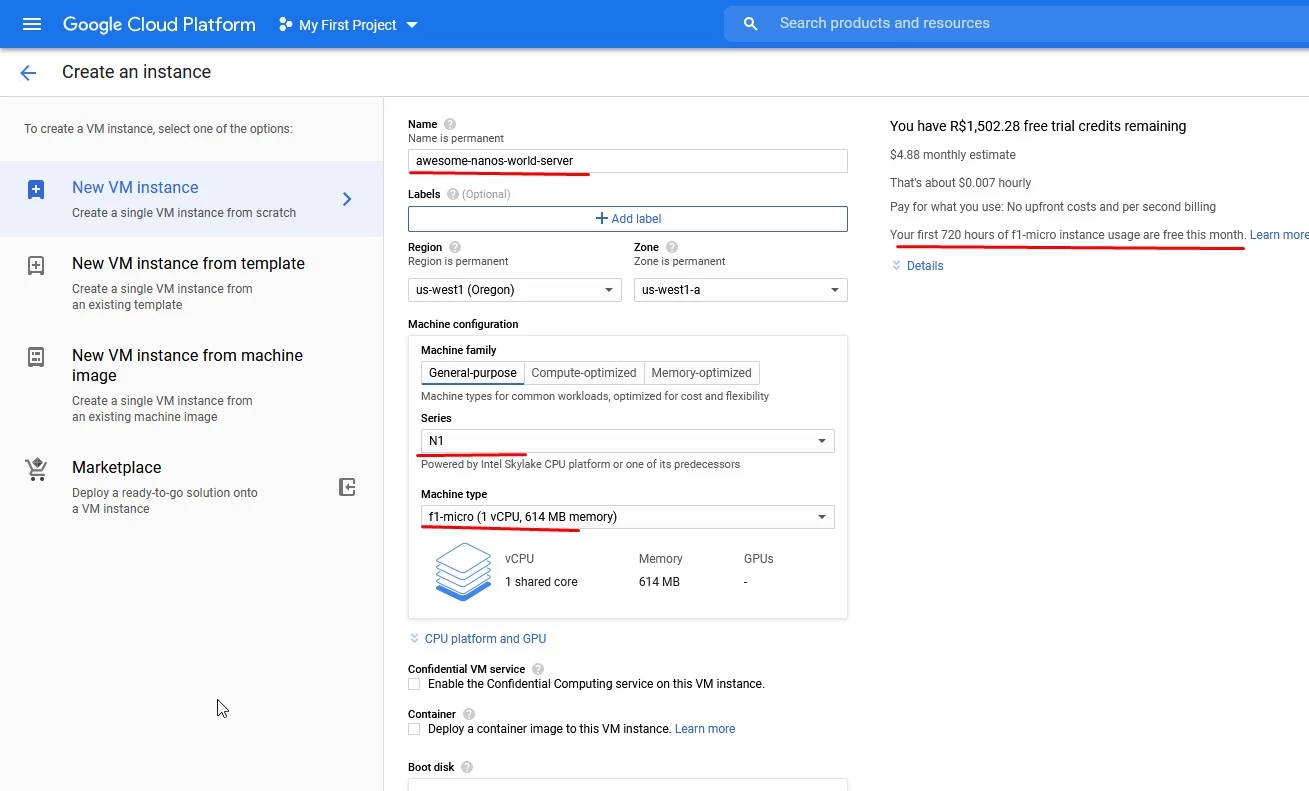
After that, you will be able to create a new Instance:
Give it a Name and select under Machine Configuration the Series N1 and Machine Type f1-micro - this part is important as only f1-micro is under Free Tier. Also it is required that you select one of the following regions to be eligible for Free Tier: Oregon: us-west1, Iowa: us-central1 or South Carolina: us-east1.
Under Boot Disk, for this guide we recommend selecting Ubuntu 20.04 LTS:

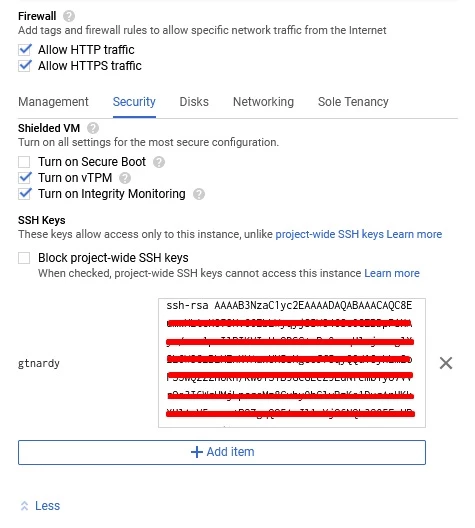
Under Firewall select to allow HTTP and HTTPS traffic, as well in Security tab add your public SSH Key to it, if you don’t have a key yet please create one. Only with a SSH Key you will be able to connect to your instance from your computer.
Once you have everything configured to your liking, click the ‘Create’ button on the bottom of the page.
Step 3: Use your Google Cloud Server

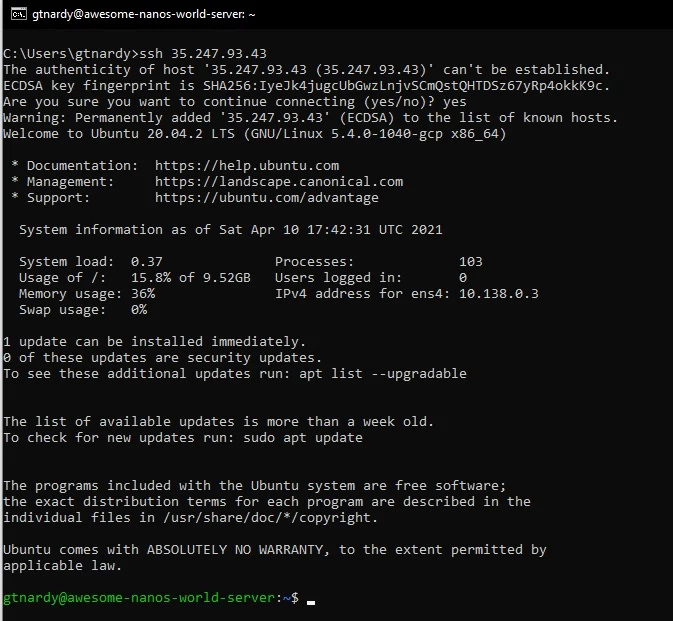
The next step is to connect into your Virtual Machine, for that launch your prompt (shell or cmd) and type:
ssh [YOUR_VM_EXTERNAL_IP]

Type yes if asked, and you will be in!
If your system doesn't have a built-in SSH client, you may use third-party clients like PuTTY.
Step 4: Installing nanos world server
Now you must download nanos world server in your VM.
For that, you should use SteamCMD. Install it by doing:
sudo add-apt-repository multiverse
sudo dpkg --add-architecture i386
sudo apt update
sudo apt install lib32gcc1 steamcmd
Then, launch SteamCMD by running steamcmd.
Select a directory for your server:
Steam> force_install_dir ./nanos-world-server
Then login anonymously:
Steam> login anonymous
Install nanos world server by using this command:
Steam> app_update 1936830
This will download the server. After downloading, navigate to your server folder and start your server like:
chmod +x ./NanosWorldServer.sh
./NanosWorldServer.sh

Use tmux if you want to run the server even if you're not logged in via SSH. In case it isn't installed in your instance, do sudo apt install tmux.
Note that your server failed to communicate with the Master Server, this is because we didn’t forward the correct ports yet in your VM, let’s do that in the next step!
Step 5: Forwarding Ports in the Google Cloud
To be able to communicate with Master Server or for other players to be able to connect to your server, you must forward your server ports. By default nanos world use ports 7777 (UDP and TCP) and 7778 (UDP).
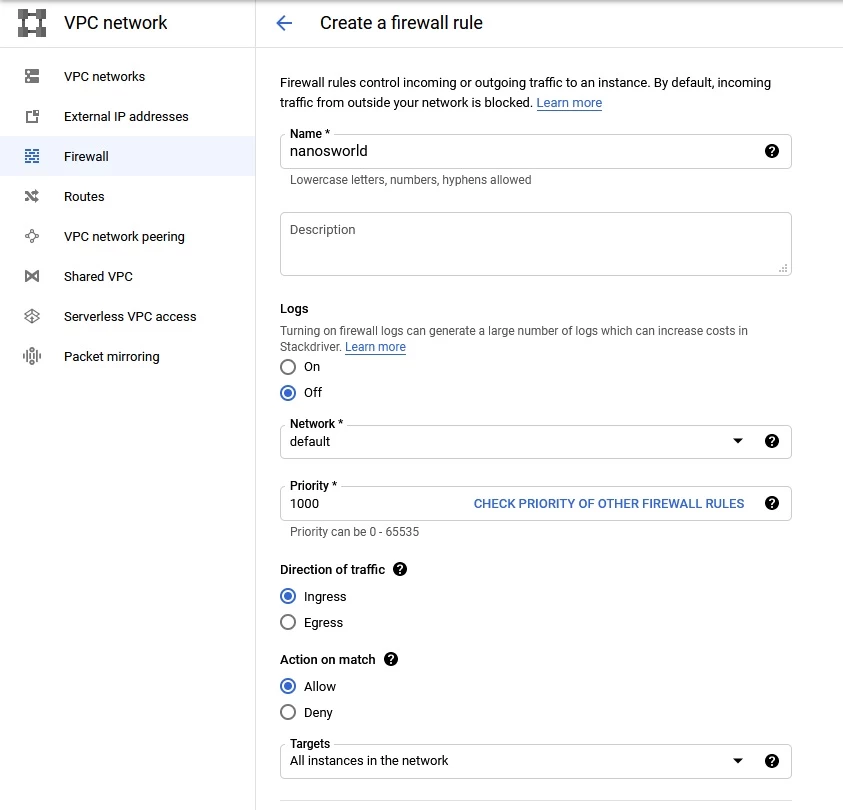
First go to the left menu bar and select VPC network and Firewall:
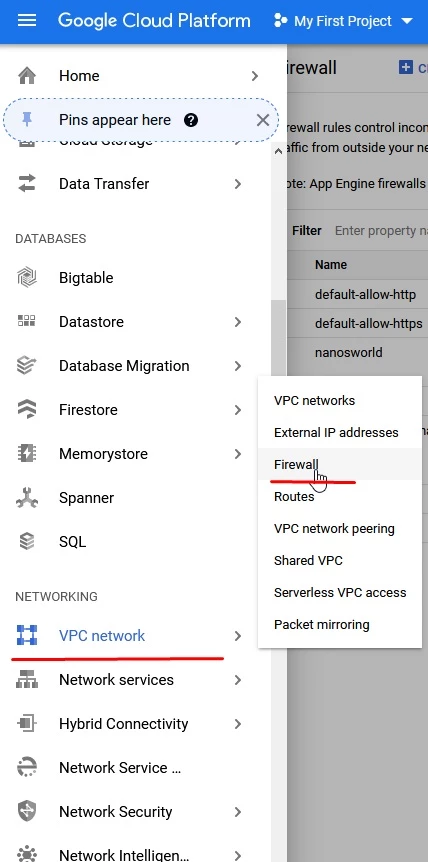
In that, you will be able to create a new Firewall Rule, add the name you want to it, set it to Ingress, set source IP: 0.0.0.0/0 and select Specified protocol and ports: tcp: 7777 and udp: 7777-7778, and create it.

Now you can restart your server and you will see it will communicate properly with Master Server (no warnings anymore):

And now you can find it in the Find Servers menu!

Conclusion
In this guide you learnt how easy it is to create a free server for nanos world using Google Cloud! Remember that Google Cloud is a paid service that offers small free tasting services, as nanos world doesn’t need that much processing the Free Tier is enough for basic game modes and to play with friends! Pay attention to the Google Cloud contracts and try to learn out more about it so as not to be caught off guard!