Quick Start
Start a server and create your first Package in less than 10 minutes!
Introduction
Welcome to the nanos world Quick Start guide! After going through this guide, you will learn:
- How to setup and join your Server
- How to create a simple Package with basic scripts
- How to Spawn Props and Entities through scripting
- How to subscribe to Game Events
- How to Possess a Character
This tutorial is for those who have never used nanos world server before and want to get started quickly!
Step 1: Download the Server
To start, you need to download the nanos world server. There are three options to do so:
- Use the executable at
nanos-world/Server/NanosWorldServer.exe(in the base game installation folder). - Use SteamCMD to download nanos world™ Dedicated Server.
- Download the nanos world™ Dedicated Server tool from Steam Client.
Step 2: Creating a Basic Package
After downloading the server, let's create a basic Package. A Package is a collection of Lua scripts that are executed on Client or Server to interact with the game.
To create a new Package, lets use the handy CLI tool to speed up the process. Open a terminal in your server folder and run the following command:
- Windows
- Linux
./NanosWorldServer.exe --cli add package my-awesome-package
./NanosWorldServer.sh --cli add package my-awesome-package
This command will run the nanos world command-line interface (CLI) to interactively create your new Package. You will be prompted to provide some information about your Package, such as its name, author, version, and type.
INFO  Please enter the Package Title: (my-awesome-package)
INFO  Please enter the Package Author: ()
INFO  Please enter the Package Type: (game-mode)
Once you finish creating your Package, you will find a new folder named my-awesome-package/ inside the Packages/ folder. This folder contains three other folders: Server/, Client/, and Shared/, and a configuration file called Package.toml.
Next, you need to tell the server to load your Package when it starts. To do that, open the Config.toml file located in the server folder and find the packages = [] section.
Add your package name ("my-awesome-package") to the list of Packages that should be loaded.
Step 3: Adding Script functionalities
Now that you have a Package, it's time to add some script functionalities to it. Scripts are pieces of code that can be executed by the server/client to add custom game logic.
To add your first script, open the file my-awesome-package/Server/Index.lua in your preferred editor. This file is the entry point for server-side scripts in your Package.
We recommend using VSCode editor, as it contains a nanos world Extension to help while coding!
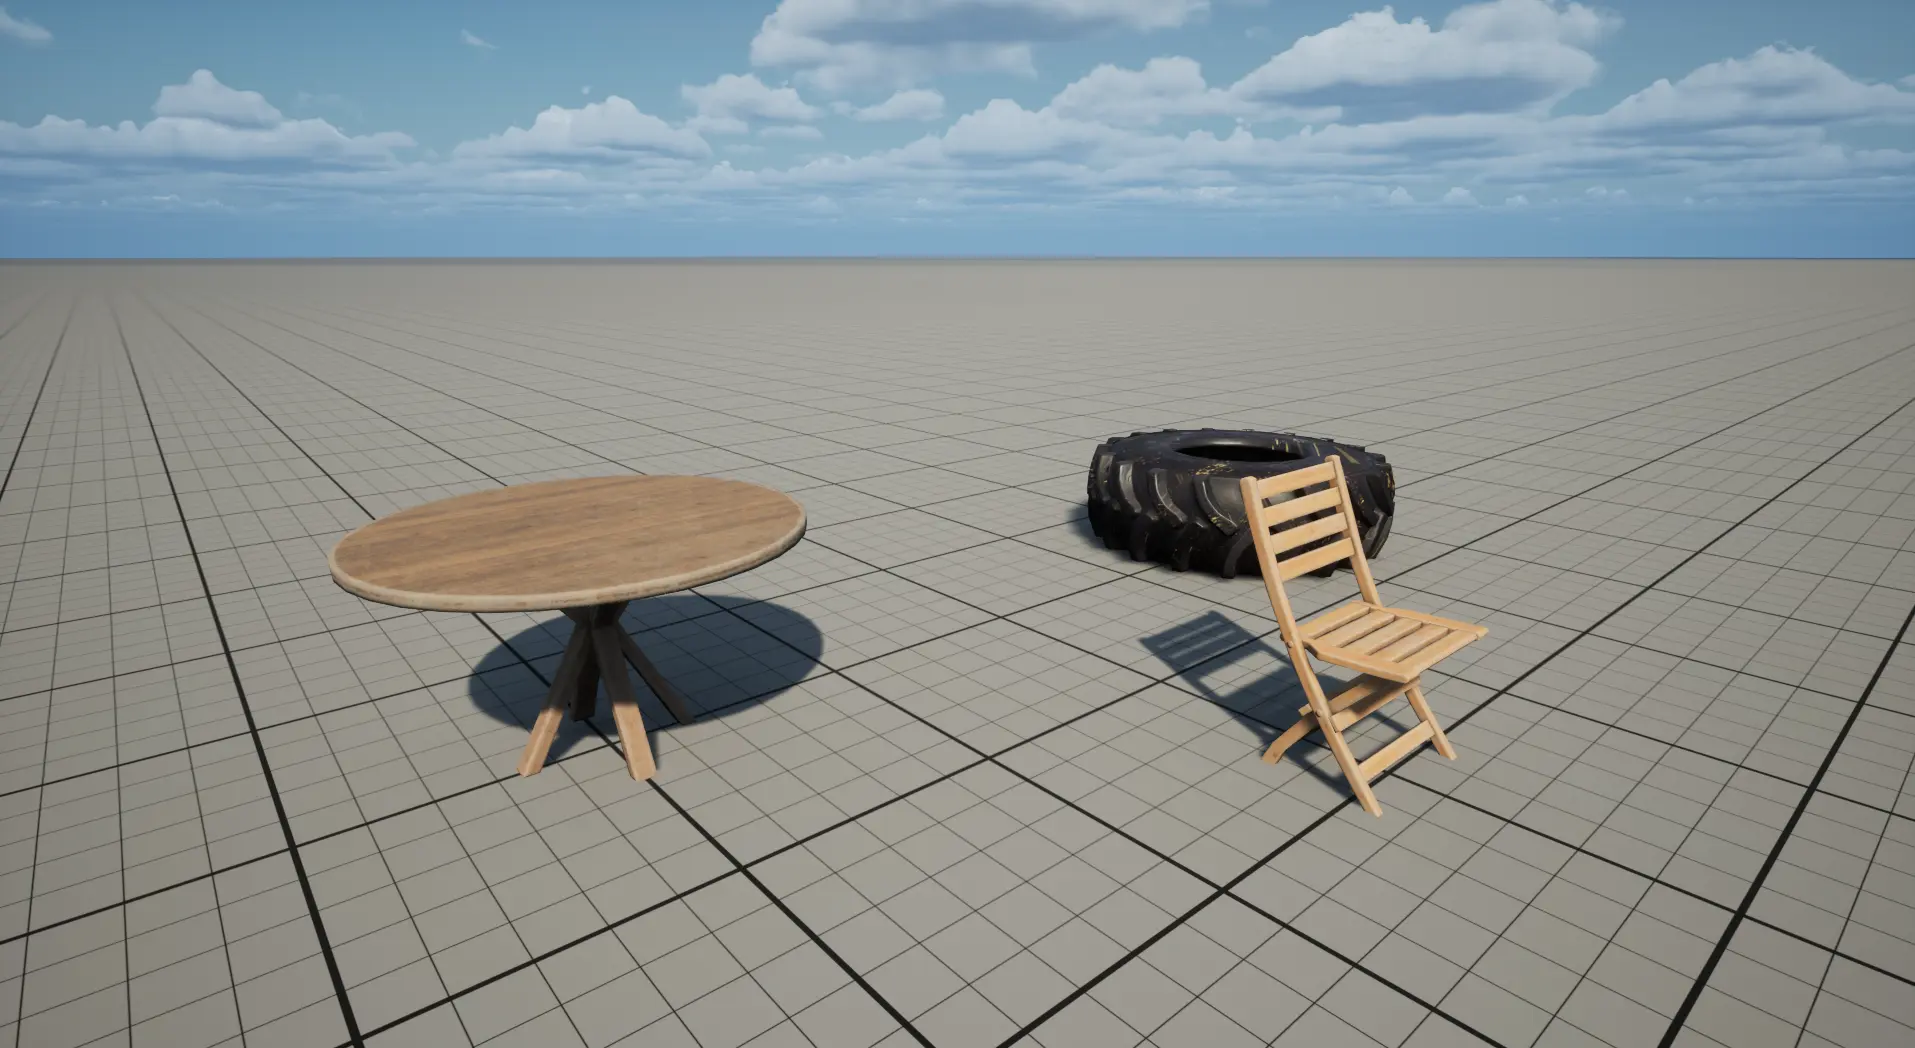
For this example, let's add some code to spawn some Props in the game world:
-- Print a message to the server console
Console.Log("Loading some Props =D")

-- Spawn some props in the game world
local prop_table = Prop(Vector(200, 0, 0), Rotator(0, 0, 0), "nanos-world::SM_WoodenTable")
local prop_chair = Prop(Vector(400, 200, 0), Rotator(0, 0, 0), "nanos-world::SM_WoodenChair")
local prop_tire = Prop(Vector(600, 0, 0), Rotator(0, 0, 0), "nanos-world::SM_TireLarge")
Step 4: Starting the server
Now let's start the server with the package you just created! For that, simply double click the server executable or launch it from the terminal:
- Windows
- Linux
./NanosWorldServer.exe
./NanosWorldServer.sh
After starting it, your console will display something like this:
  INFO  nanos world (C) Copyright nanos. All Rights Reserved.
  INFO  Starting Server at Port: 7777. Version: 0.0.0. Map: 'default-blank-map'.
  INFO  Loading Package 'my-awesome-package'...
SCRIPT  Loading some Props =D
  INFO  Package 'my-awesome-package' loaded.
  INFO  Loading Package 'default-blank-map'...
  INFO  Package 'default-blank-map' loaded.
You can see it loaded your package and outputted the text "Loading some Props =D" on it.
Step 5: Join your server
Now let's see the results in-game! Open nanos world and connect to localhost at 127.0.0.1:7777.
After connecting, you will be a flying pawn and will be able to see the props spawned! 😁
Extra Step: Spawning Characters
You may have noticed you are just a wandering soul flying around, let's give you some flesh! For that, we will need to interact with some Game Events.
Spawning a Character for the Player
Let's append some code in your Server/Index.lua, to spawn a Character when a Player joins the server:
-- Function to spawn a Character and possess it to a Player
function SpawnCharacter(player)
    -- Spawns a Character at position X=0, Y=0, Z=0 with default constructor parameters
    local new_character = Character(Vector(0, 0, 0), Rotator(0, 0, 0), "nanos-world::SK_Male")

    -- Possess the new Character
    player:Possess(new_character)
end

-- Subscribes to an Event which is triggered when Players join the server
-- (i.e. Player entity spawns)
Player.Subscribe("Spawn", SpawnCharacter)

-- When this Package loads, we don't have any Character spawned and possessed, so
-- iterates for all already connected Players and give them a Character as well.
-- This will make sure you also get a Character when you reload the package
Package.Subscribe("Load", function()
	for k, player in pairs(Player.GetAll()) do
		SpawnCharacter(player)
	end
end)
To apply your changes, run the command in the server console: package reload all. This will live reload the Packages and apply the changes immediately to all Players connected.
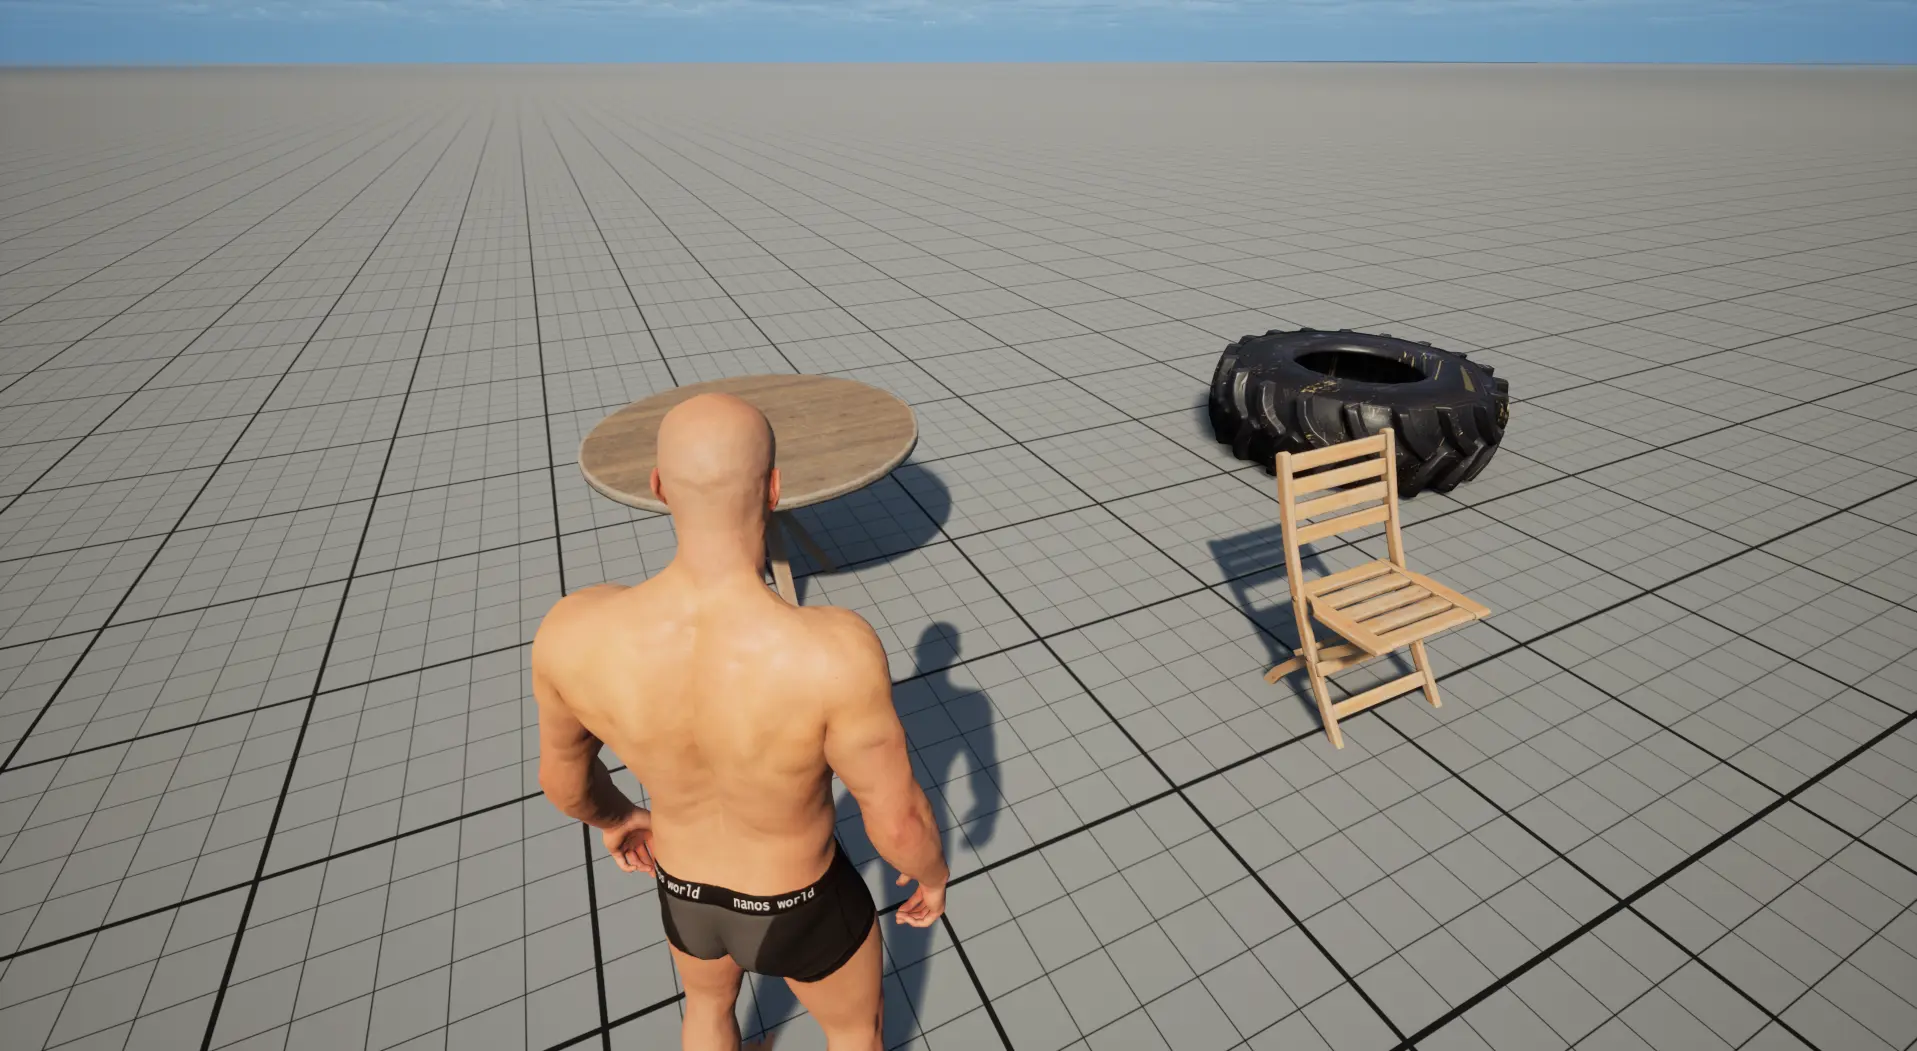
Now you are possessed and can walk around and interact with the Props!
Destroying the Character when the Player leaves the Server
Note that the Character isn't destroyed automatically when the Player disconnects. For that, we will need to Subscribe for when the Player leaves the server (Destroy event) then manually destroy the Character.
Append this code:
-- When Player leaves the server, destroy it's possessing Character
Player.Subscribe("Destroy", function(player)
    local character = player:GetControlledCharacter()
    if (character) then
        character:Destroy()
    end
end)
To apply your changes, run the command in the server console: package reload all.
Conclusion
Congratulations! You have finished your first basic Package and learn a lot!
You can find more and detailed information about each topic mentioned in this guide in the following links:
Server Configurationcore-concepts/server-manual/server-configuration Command-line Interface (CLI)core-concepts/server-manual/command-line-interface Packages Guidecore-concepts/packages/packages-guide Classes Guidecore-concepts/scripting/classes-guide Events Guidecore-concepts/scripting/events-guide