User Interface
How to display information on the Screen to the Player.
In nanos world there are 3 official ways of plotting screen data: WebUI, Widget and Canvas.
WebUI
With WebUI you can load HTML pages which integrate with your Packages in Lua using Events.
This sample code shows how to add a basic page using HTML+JavaScript with the WebUI Class:
-- Spawns a WebUI with the HTML file you just created
MyUI = WebUI("My UI", "file://UI/index.html")

-- When the HTML is ready, triggers an Event in there
MyUI:Subscribe("Ready", function()
    MyUI:CallEvent("MyAwesomeEvent", "Hello! Vous êtes prêts !")
end)

MyUI:Subscribe("MyAwesomeAnswer", function(param1)
    Console.Log("Received an answer! Message: " .. param1)
end)
<html>
    <head>
        <script>
            // Register for "MyAwesomeEvent" from Lua
            Events.Subscribe("MyAwesomeEvent", function(param1) {
                console.log("Triggered! " + param1);

                // Triggers "MyAwesomeAnswer" on Lua
                Events.Call("MyAwesomeAnswer", "Hey there!");
            })
        </script>
    </head>
    <body>
        Hello World!
    </body>
</html>
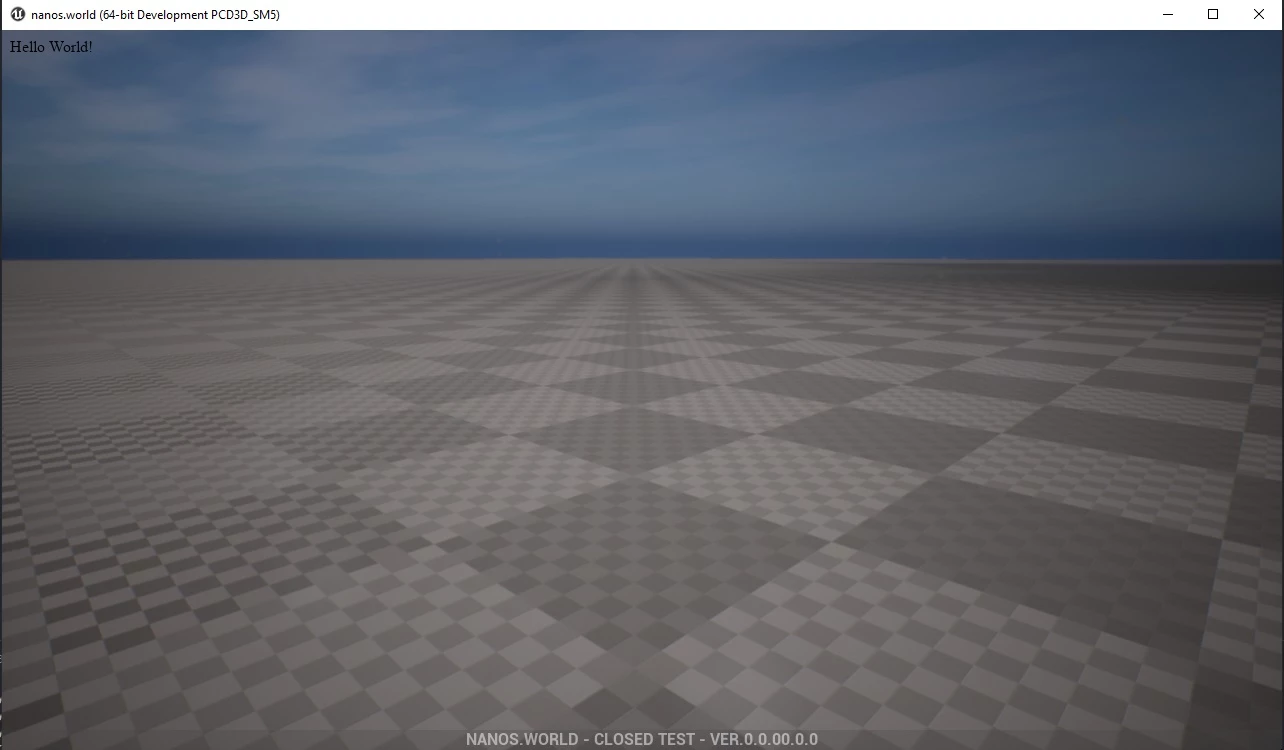
It will output on screen:

And also output on the console:
[WebUI]  Triggered! Hello! You are ready!
[Script] Received an answer! Message: Hey there!
See a full example at:
HUD Basique (HTML)getting-started/tutorials-and-examples/basic-hud-htmlWidget
Another very flexible way of creating UIs is using the new Widget Class! With them you can have all access to the powerful Widgets and even create your own through Unreal Engine and import them in-game, providing a seamless User Experience!
For more information refer to our Widget class page:
Widget Classscripting-reference/classes/widgetCanvas
One last way to plot data on the screen is to use the Canvas Class:
Basic HUD (Canvas)getting-started/tutorials-and-examples/basic-hud-canvas