Importing Mixamo Animations
Mixamo is a library of thousands of animations captured from professional motion actors.

For this guide we are going to use a Tool for exporting Mixamo animations directly into Unreal Engine, 100% compatible with nanos world Characters.
Step 1: Download Mixamo Converter
Go to Mixamo Converter page and download the Tool. Unzip it (password is terribilis) and you will have a folder like this:

Step 2: Create an Account in Mixamo website
Please go to Mixamo Website and create an account. Adobe will require you to have an account to be able to download it's animations.
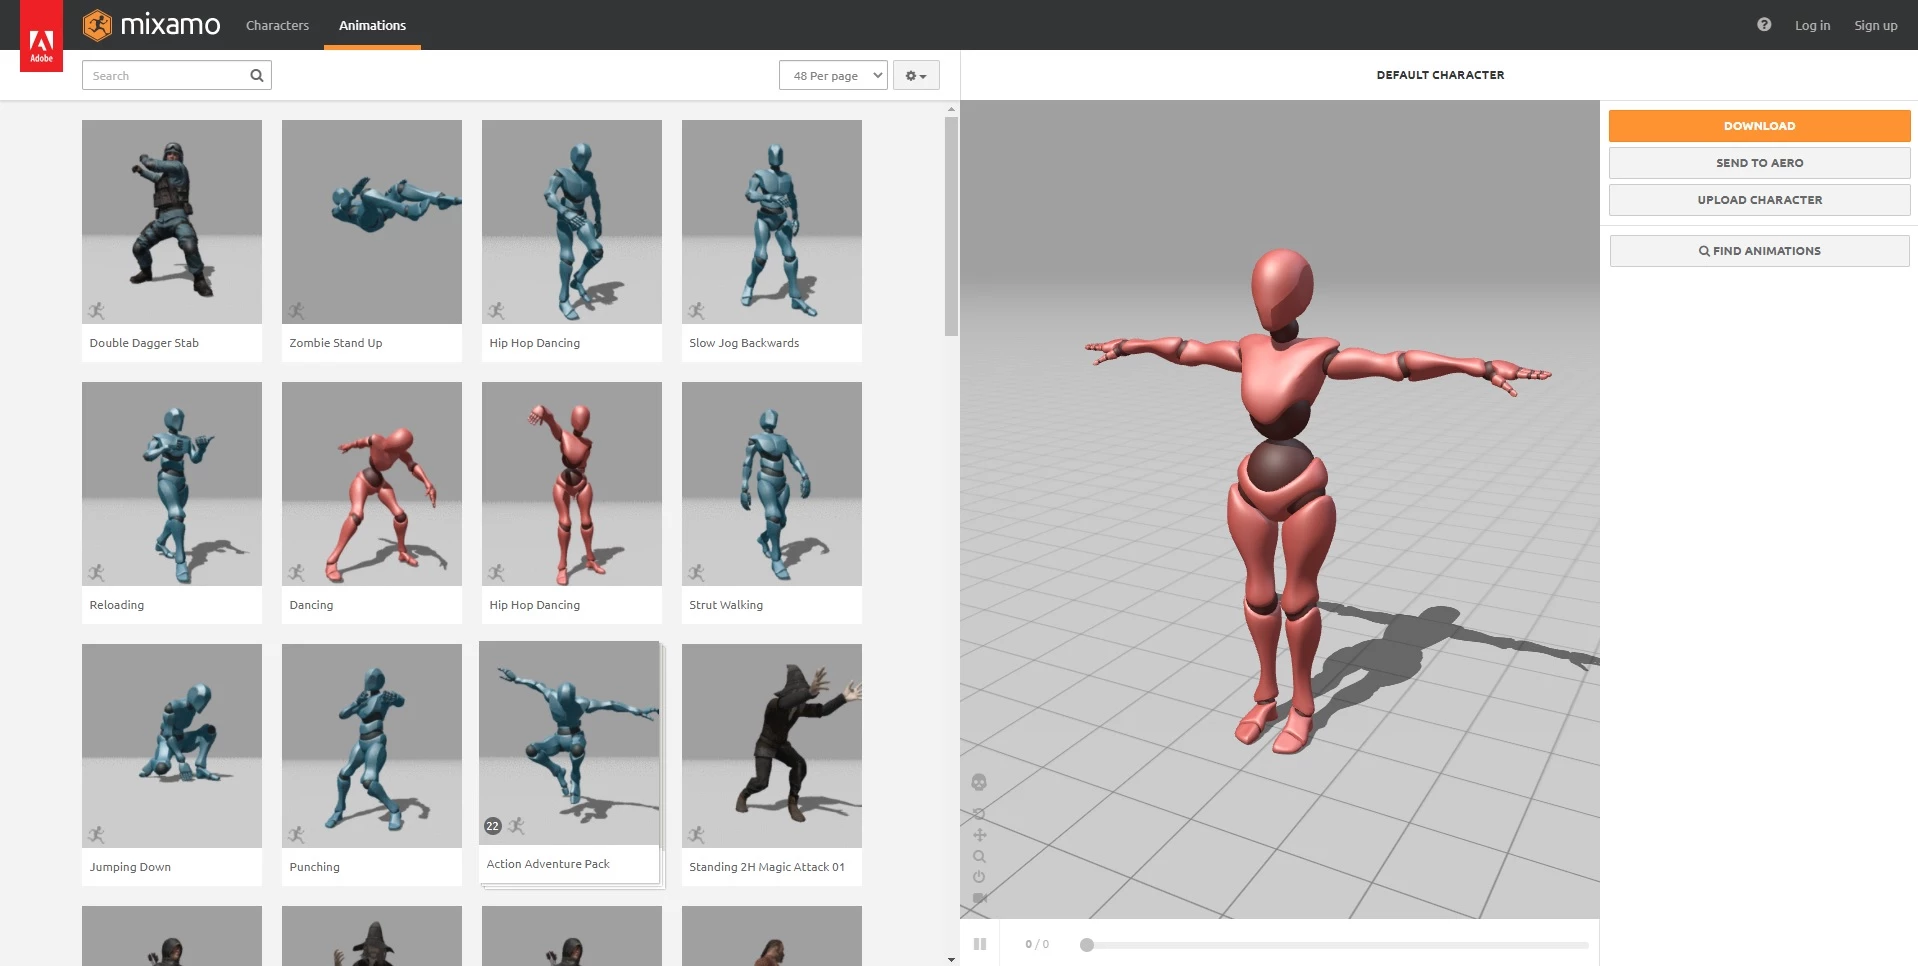
Step 3: Upload the Mannequin to Mixamo
Upload the file SK_Mannequin_For_Mixamo.fbx from Mixamo Converter root folder into Mixamo website:
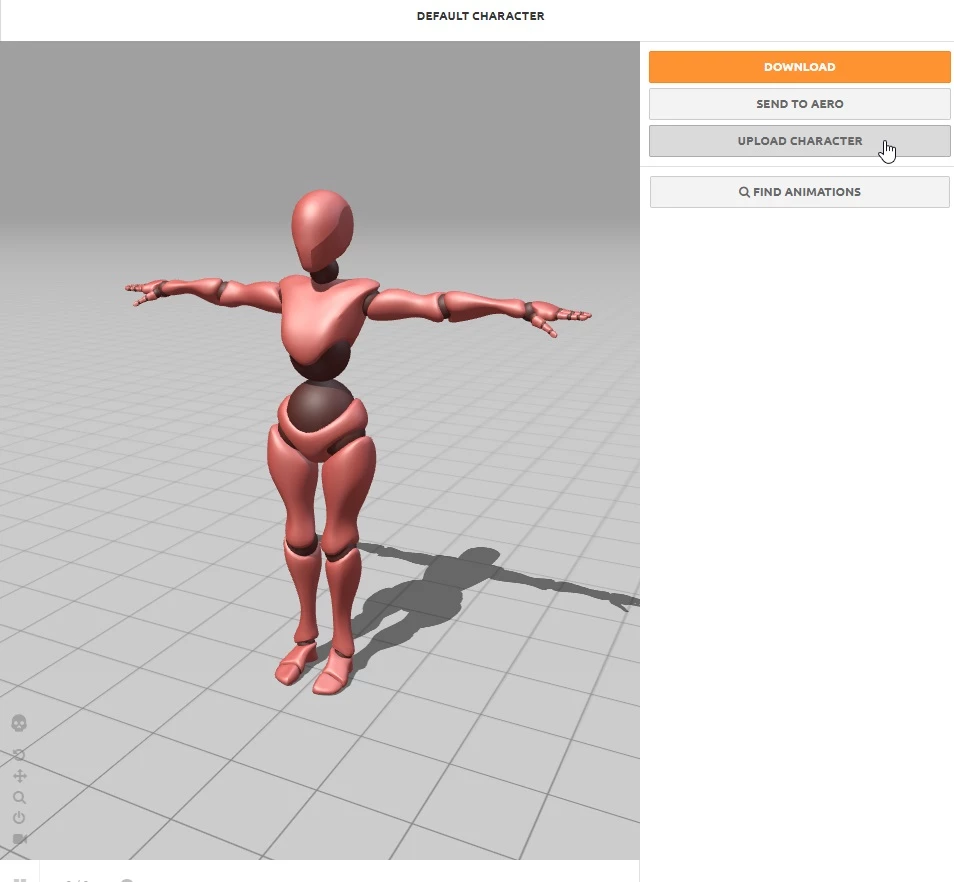
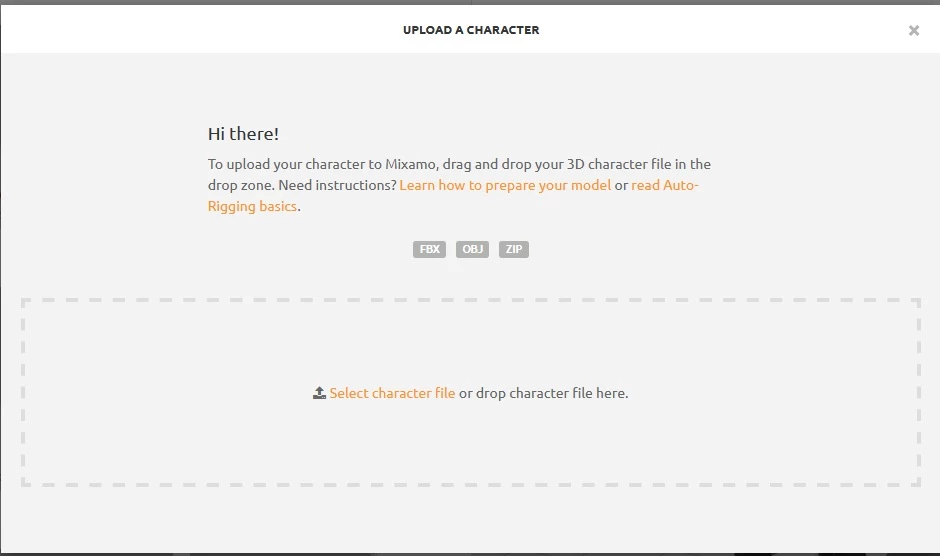
Now you will be able to see Unreal Mannequin in there!
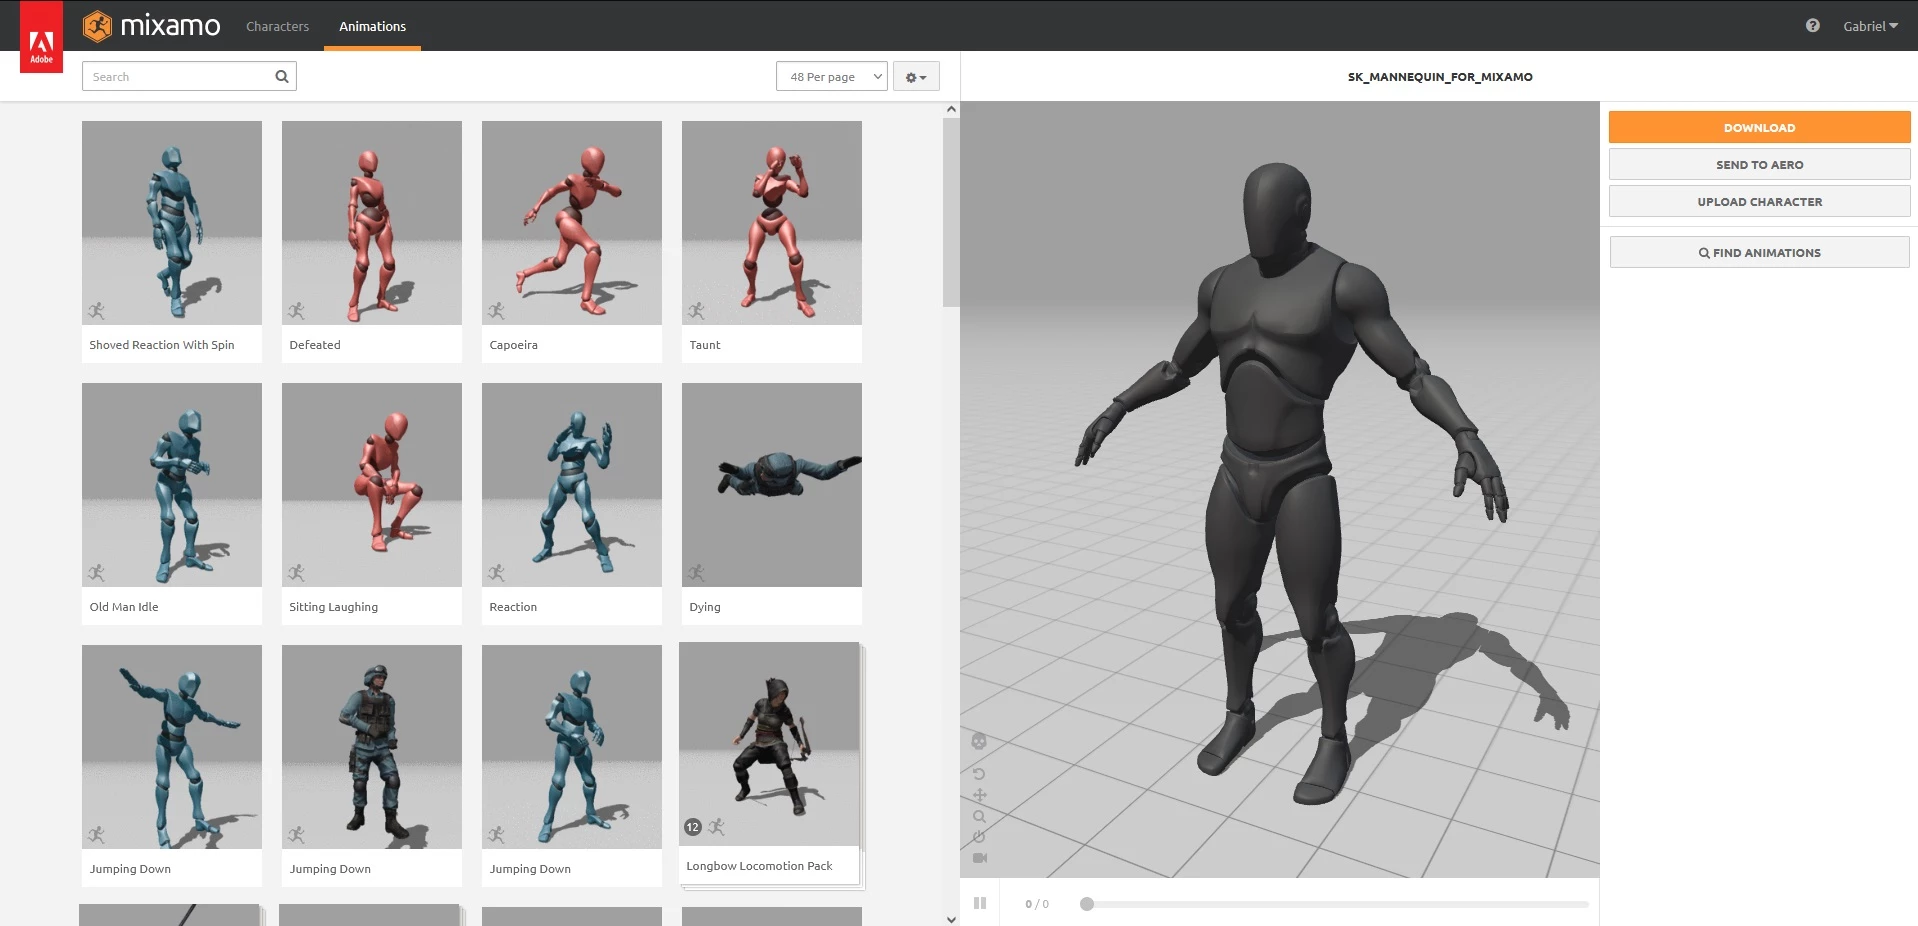
Step 4: Choose your animation!
Now you can choose any animation you want from Mixamo website, once you select it you will be able to see the Mannequin playing that. Also you can tweak some settings in the right side.
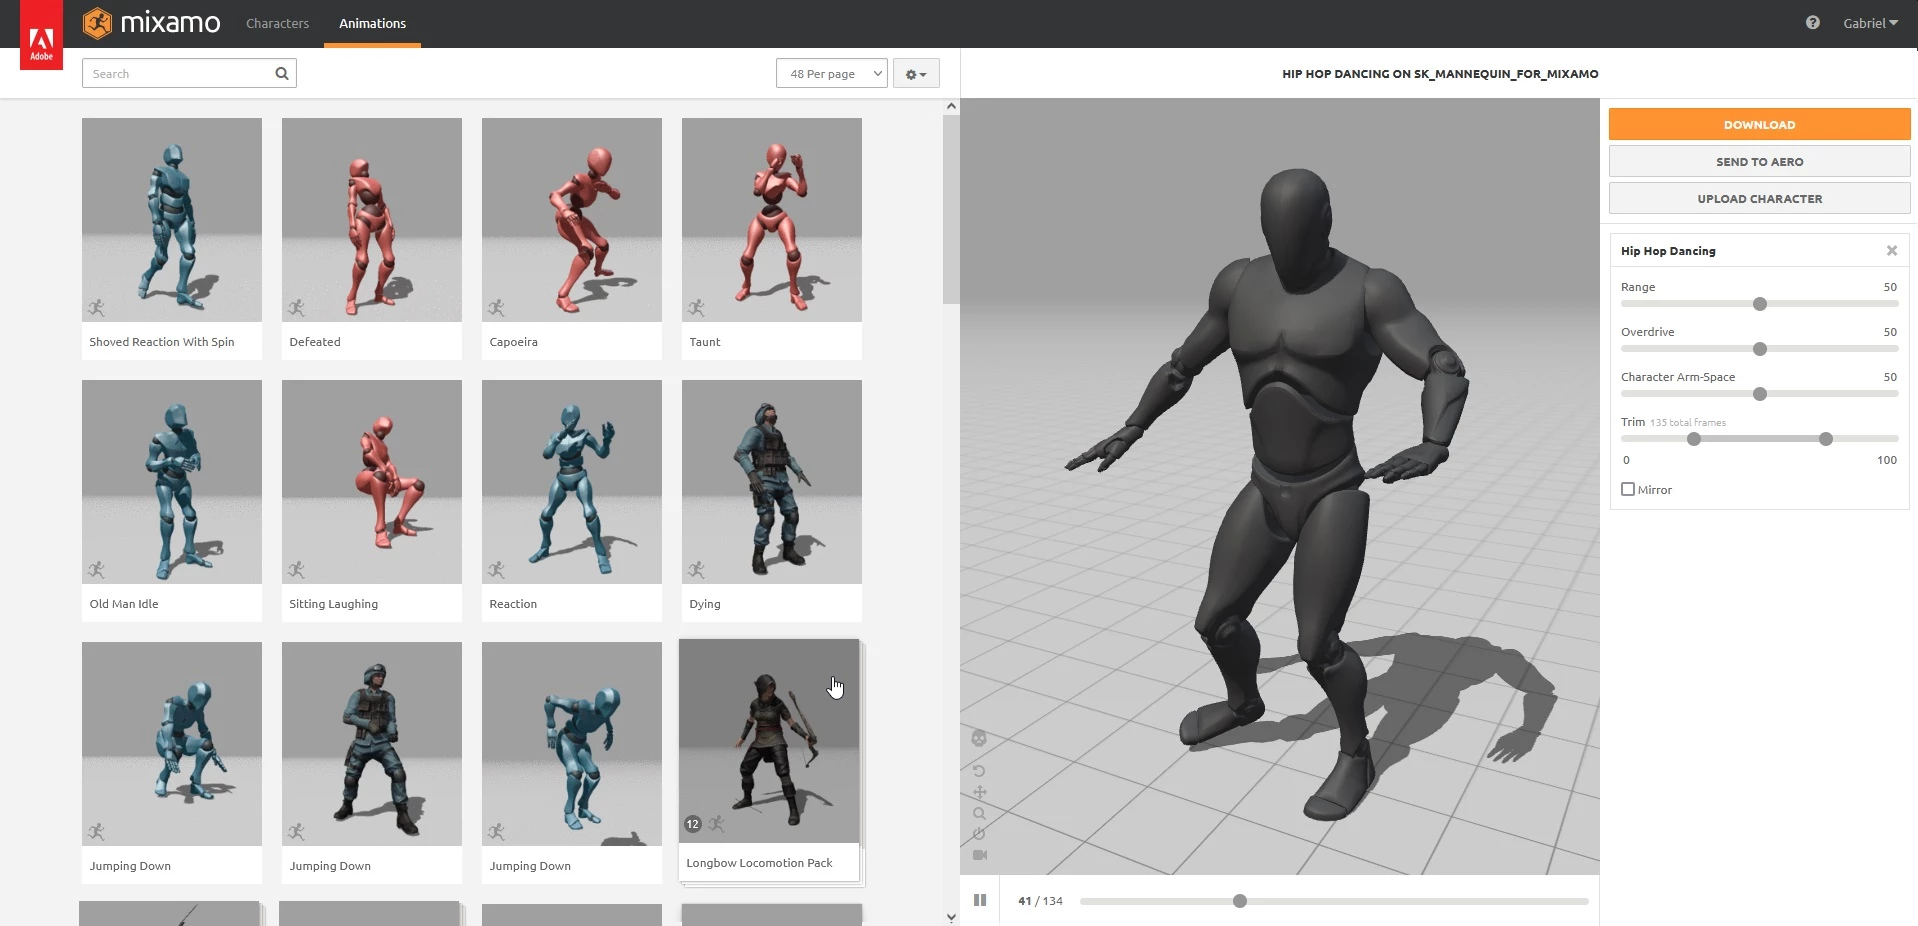
Step 5: Download it!
Once you are satisfied with the animation, download it.
You must select Without Skin and uniform in the Download Settings.
After downloading it, copy the file into mixamo_converter/Initial folder. In our case, we copied Hip Hop Dancing.fbx:

Step 6: Run Mixamo Converter Tool
Now, double click Mixamo_Converter.exe tool you downloaded in Step 1 to open it:
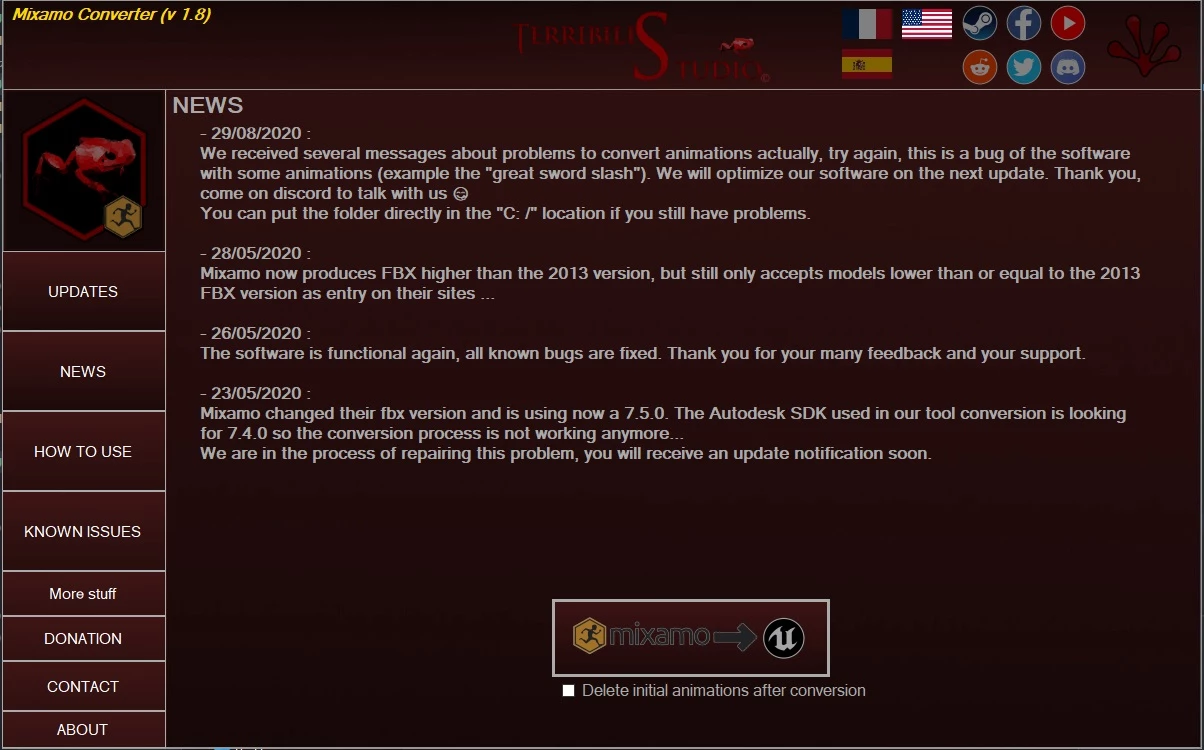
Once you press Mixamo -> Unreal, it will convert all animations from /Initial folder into /Complete folder.
You can optionally select the option to delete the /Initial animations once is converted.
Step 7: Import the Converted Animation into Unreal Engine
Please before proceeding, make sure you read and downloaded our Assets Development Kit.
Now you just need to import it into your UE4 Project! We are going to import it into our ADK to create a new Asset Pack with the animations we imported!
Create a new Asset Pack folder
We are calling it AwesomeMixamoAnimations:
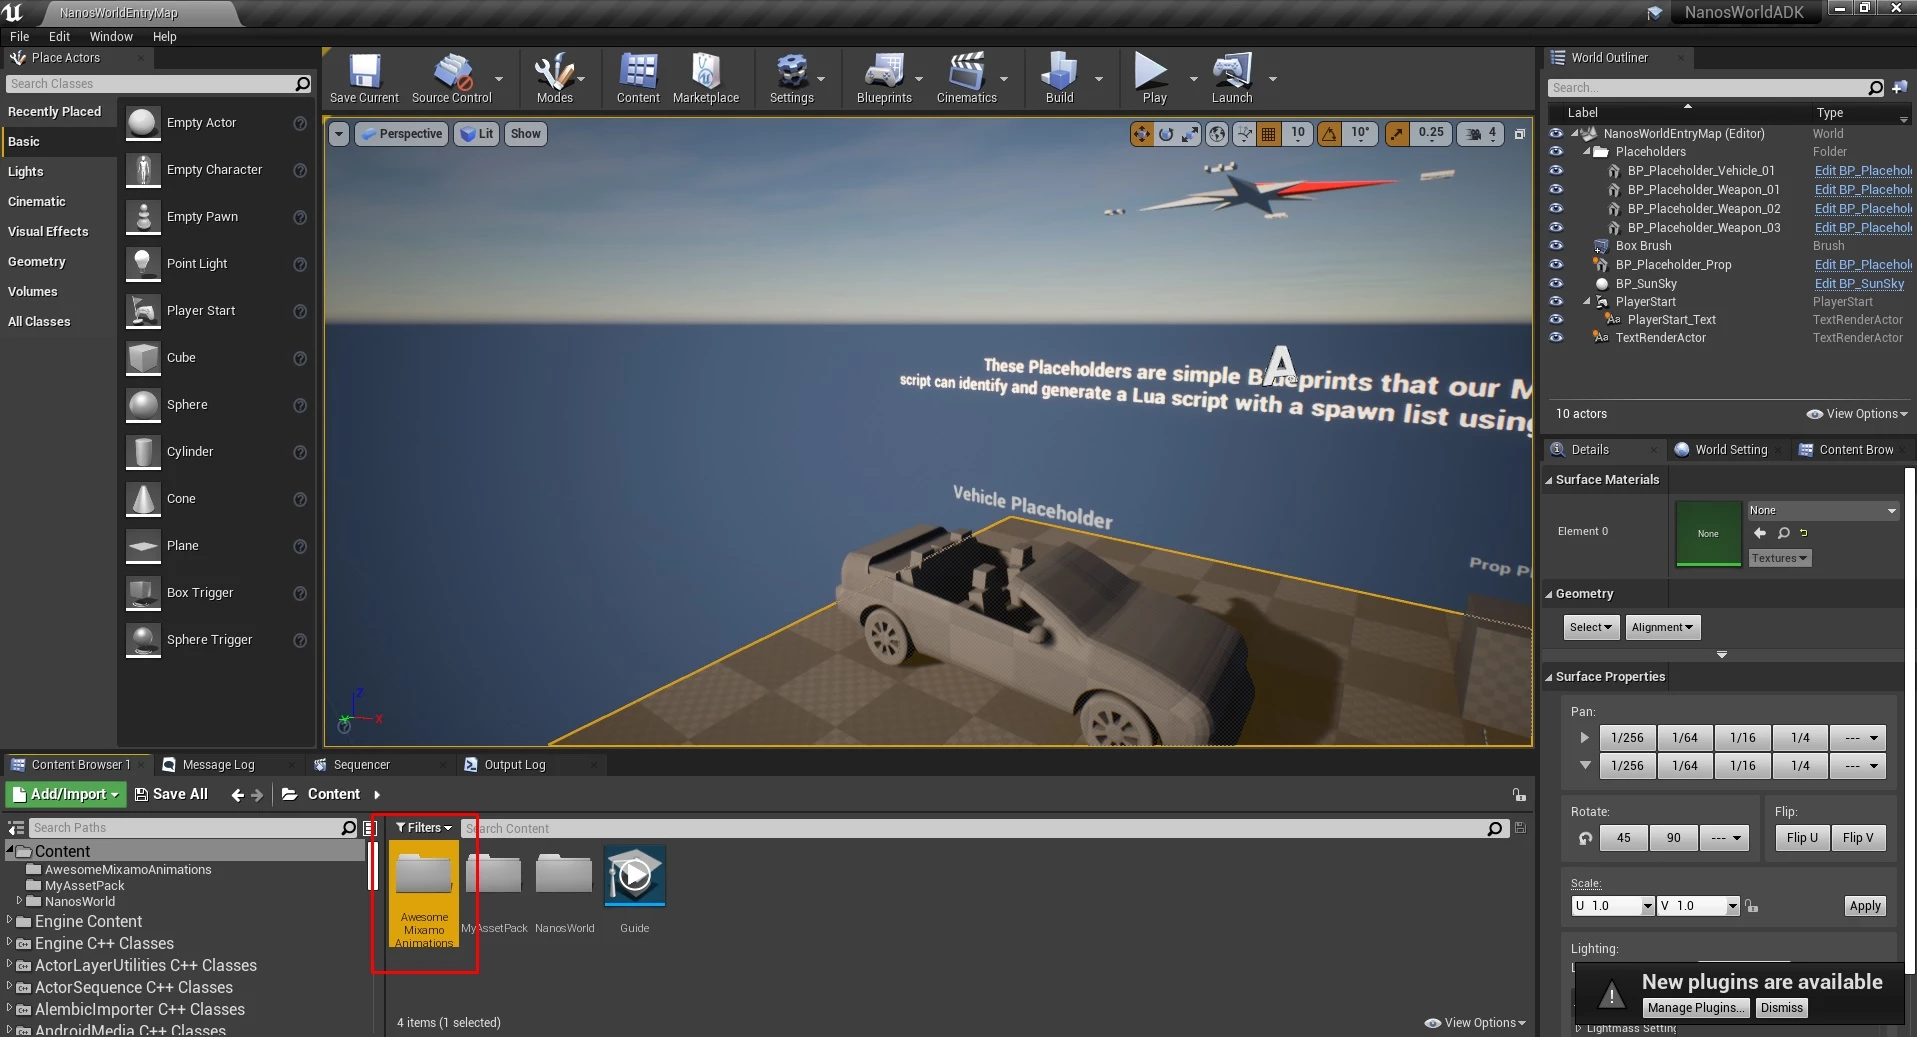
Drag the Animation file into Unreal
Open the Folder you created and drag the animation exported by Mixamo Converter into that.
A FBX Import Options screen will show up.
Please set all options as the following image. To expand the advanced options, click in the arrow in Animation category!
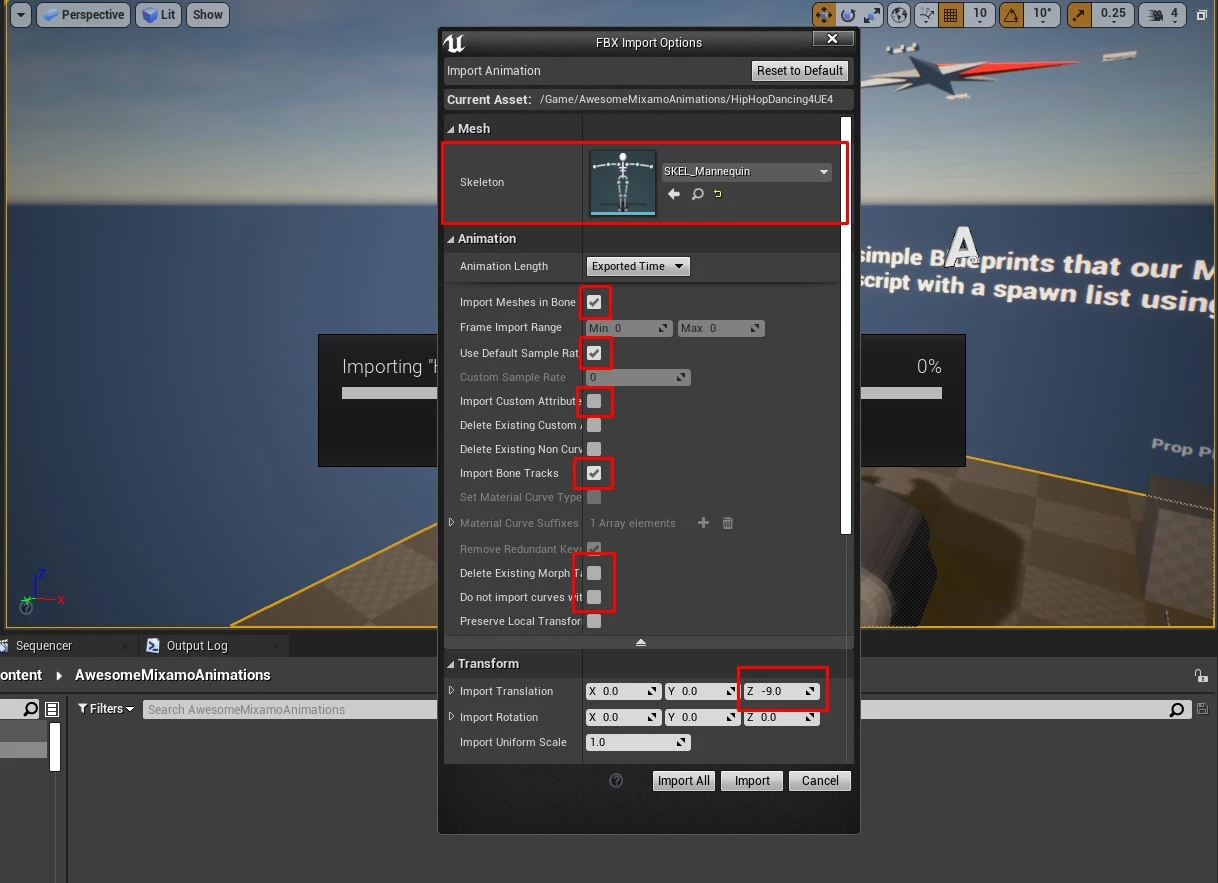
And voilá! You imported it!
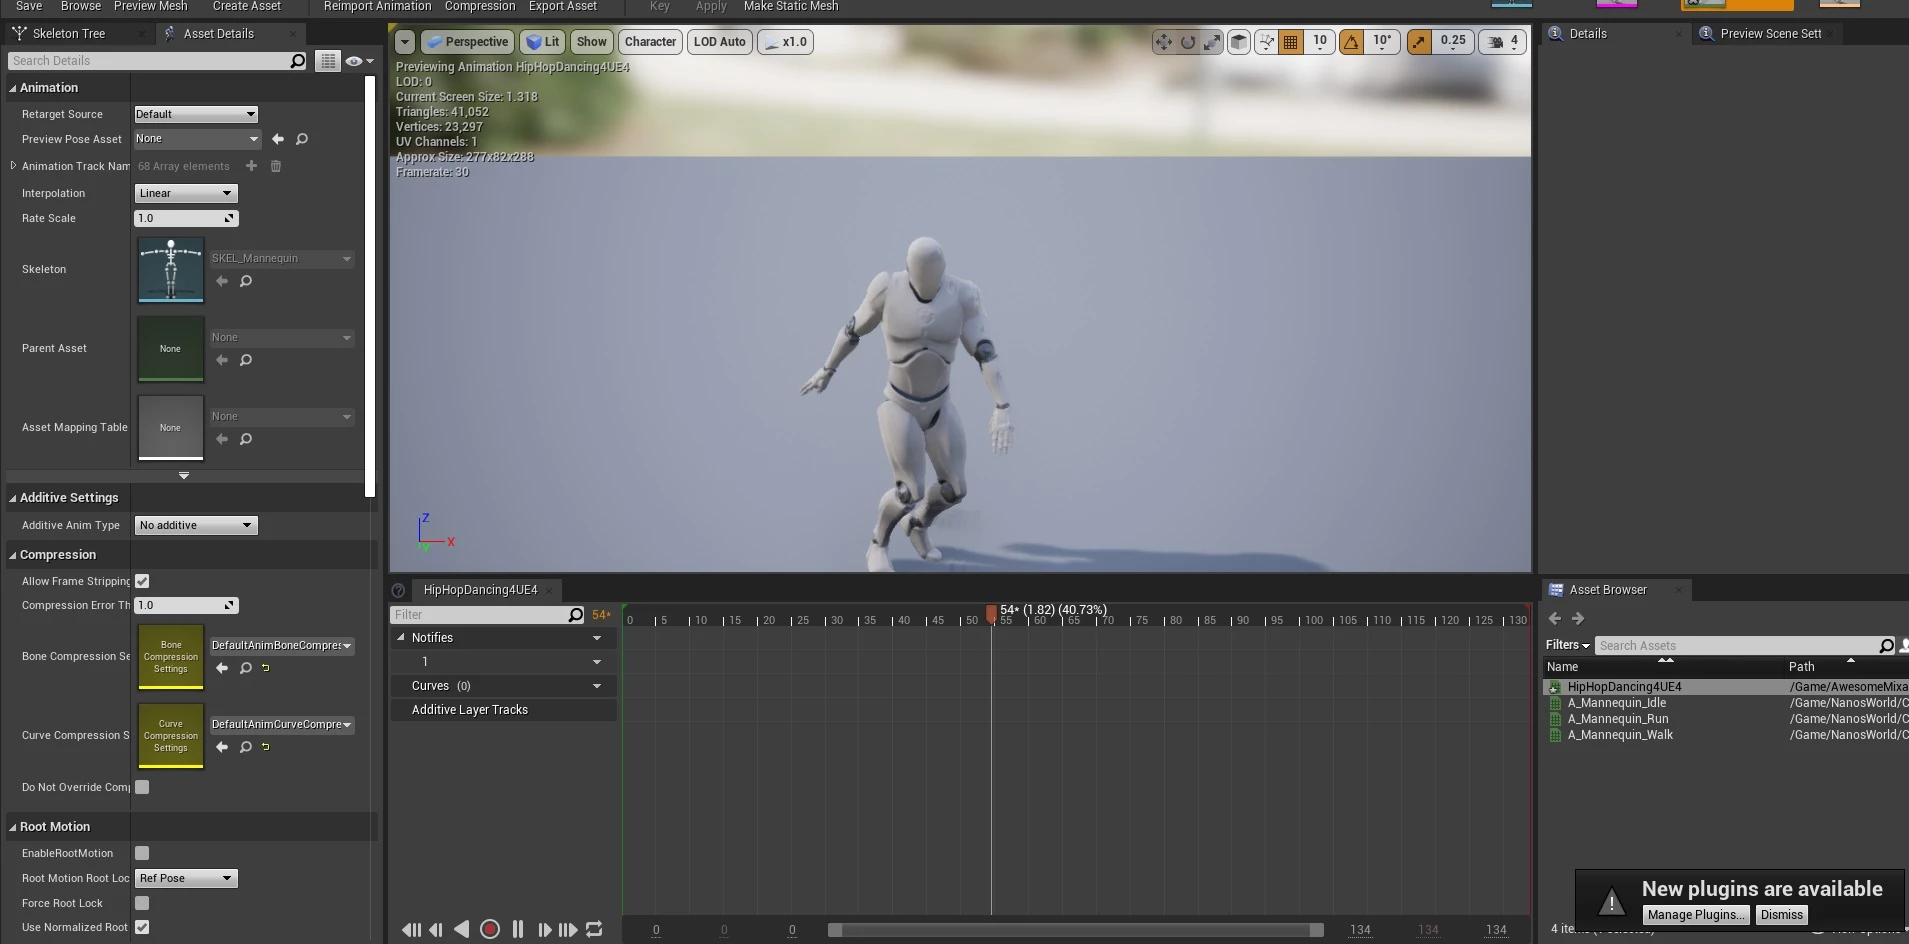
If you double click it you will be able to see it working!
Step 8: Exporting the animation from Unreal
For more information on how to use ADK or Export Content in a faster way, please check Assets Development Kit and Importing Assets!
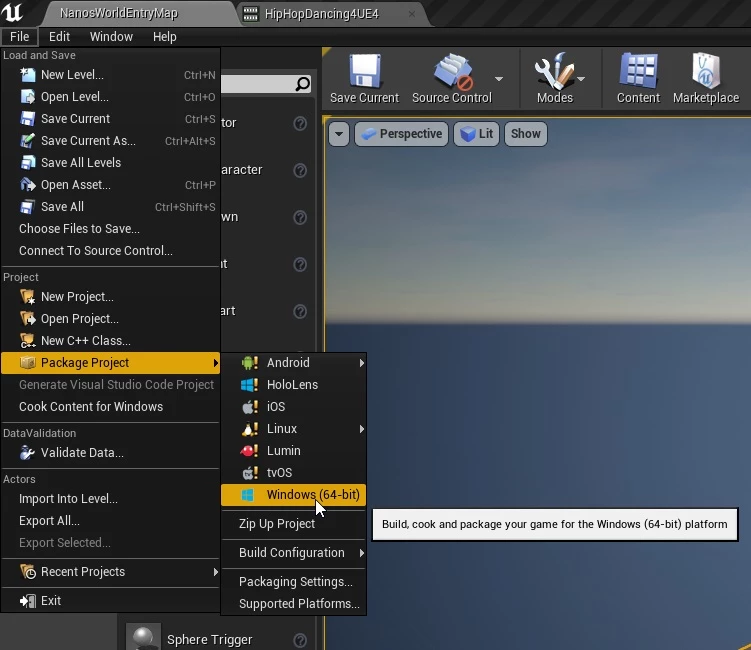
Go to File -> Package Export -> Windows 64 Bits and select a folder in your computer. It will start compiling your assets.
Step 9: Creating your nanos world Asset Pack
Wait the Packaging to finish!
Now that we have the compiled assets, we already can use it in nanos world! For that we will need to create an Asset Pack!

Please take a look into Importing Assets for how to create an Asset Pack.
We are not going to cover all aspects of creating Asset Packs here for avoiding redundant information in the docs!
Step 10: Using your animations!
After exported and created your Asset Pack, you will be able to use them in code like that!
local my_character = Character()
my_character:PlayAnimation("awesome-mixamo-animations::HipHopDancing4UE4")