Weapons Meshes
In nanos world, a Weapon is an entity which can be Picked Up by Characters and can have several settings tweaked to customize it. In this guide you will learn how to import custom Skeletal Meshes to create your own Weapon.
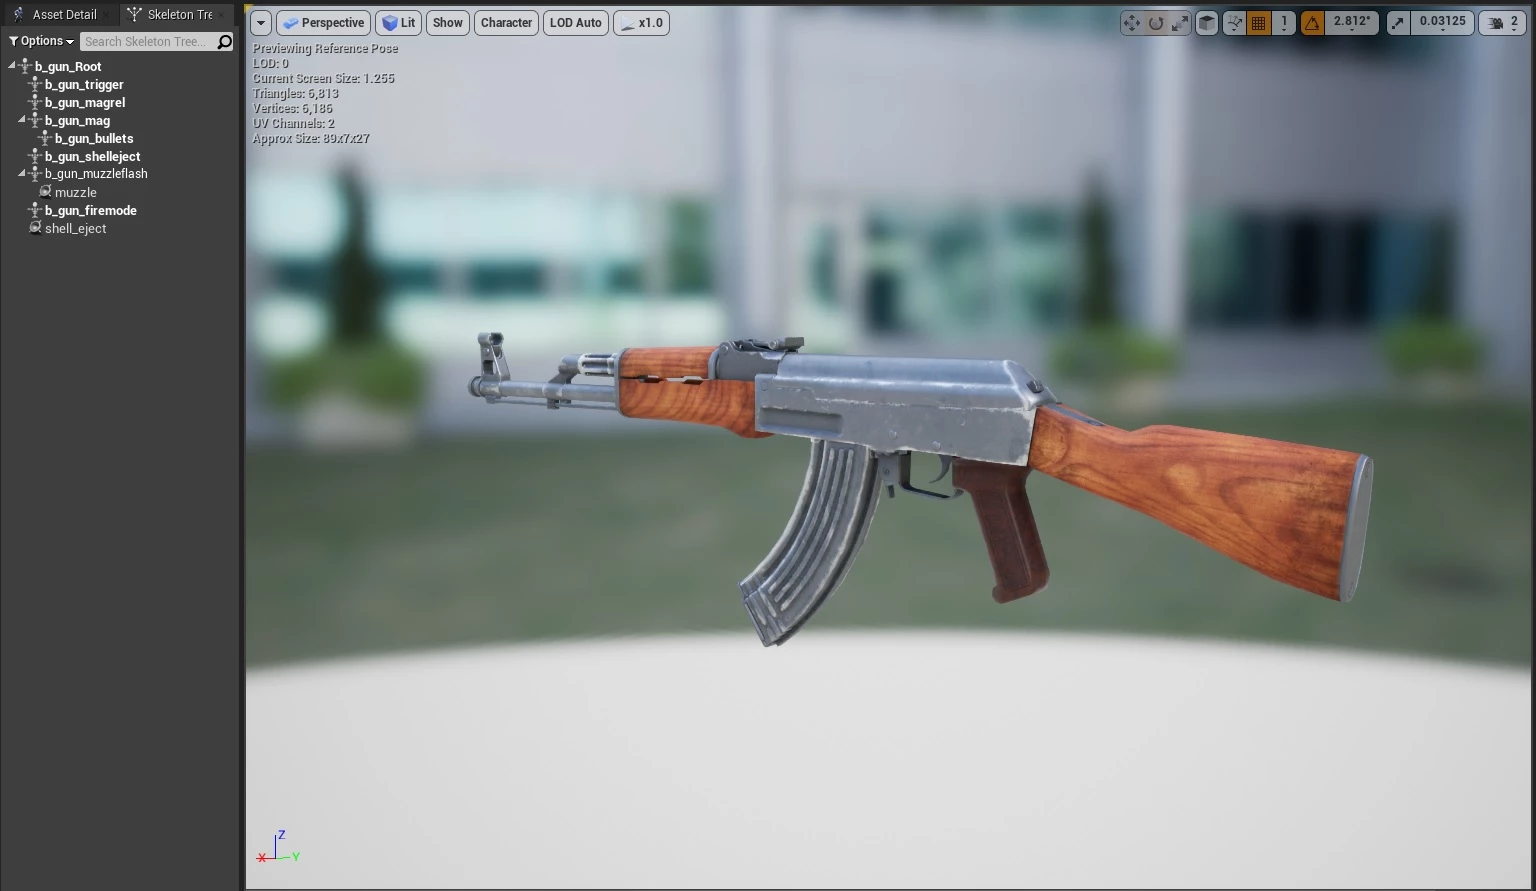
Weapons use Skeletal Meshes. The Skeletal Mesh must point towards the Red Axis (X) to be properly rotated.
Root Bone
The root bone is used to attach the Weapon to the Character's right hand Bone. The weapon is attached to the Bone Socket hand_r_socket.
You can open SKEL_Mannequin and add your weapon as Preview Asset in the hand_r_socket so you can visualize it attached, and do some adjustments if needed:

Fixing Offsets, Scale & Rotation
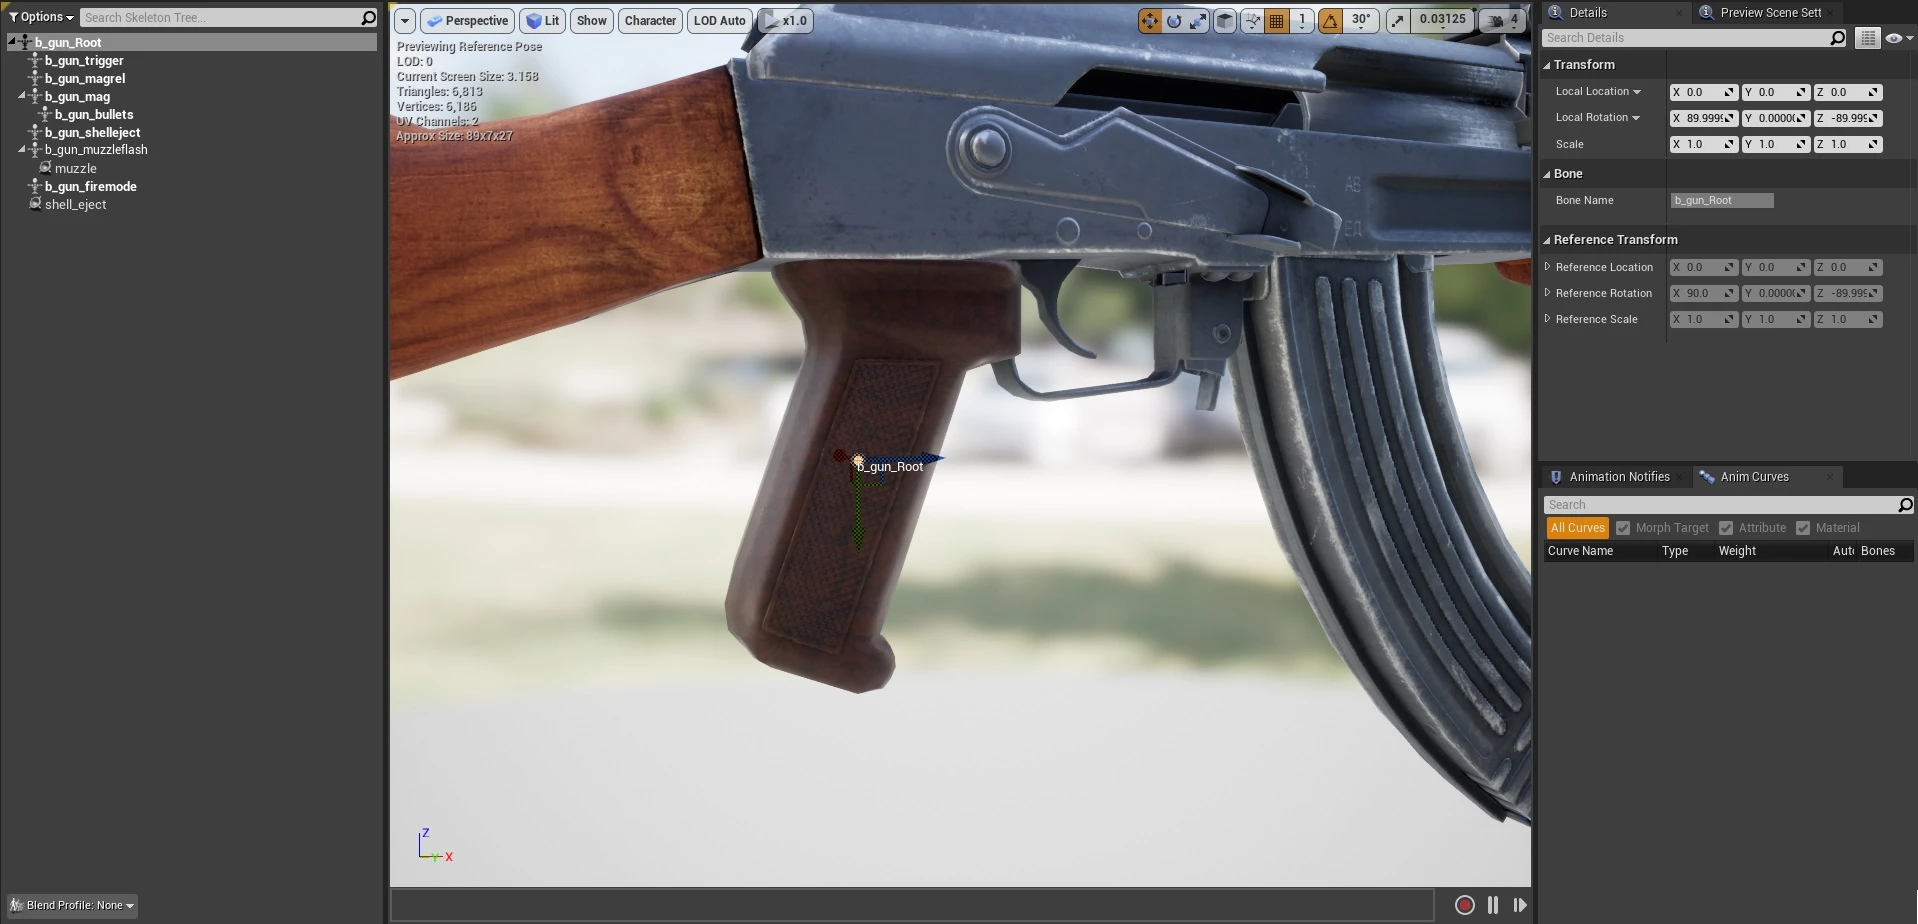
Sometimes when you import a Mesh, it is imported with wrong locations, scales or even pointing towards other direction (usually Y). Luckily there's a hack we can do inside Unreal to fix them!
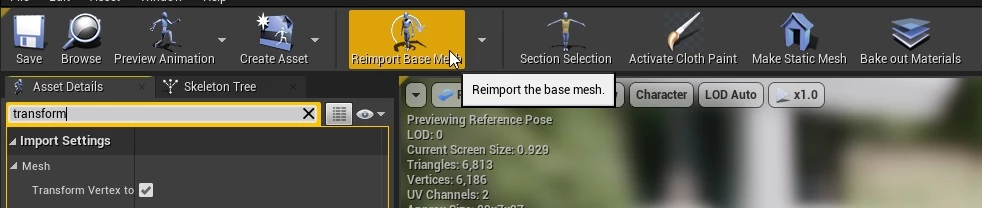
Just open your Skeletal Mesh Asset, under Assets Details window, look for Import Settings then Transform. Here you can tweak the Transform (Translation, Rotation and Scale) of the Weapon (will change the Root Bone transform).
![]()
So if your Weapon is not positioned correctly in the Character hand location, or has wrong Scale, or is pointing to wrong location, you can tweak those settings and then press Reimport Base Mesh. It will reimport the Asset with the Transform you supplied:
Custom Bone Sockets
In order to make your Weapon as better integrated as possible, internally we use two custom Bone Sockets for spawning Particles such as Shells and Muzzle Flash.
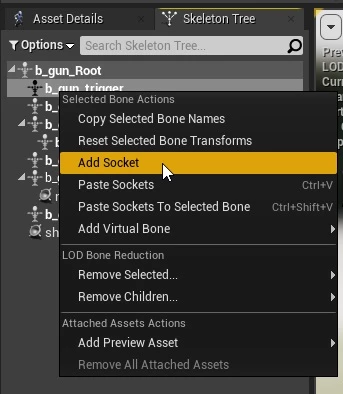
To add a Bone Socket, just open your Skeleton asset:
And right click on any bone and select AddSocket, this will create a Socket at the same position and relative to the parent Bone:
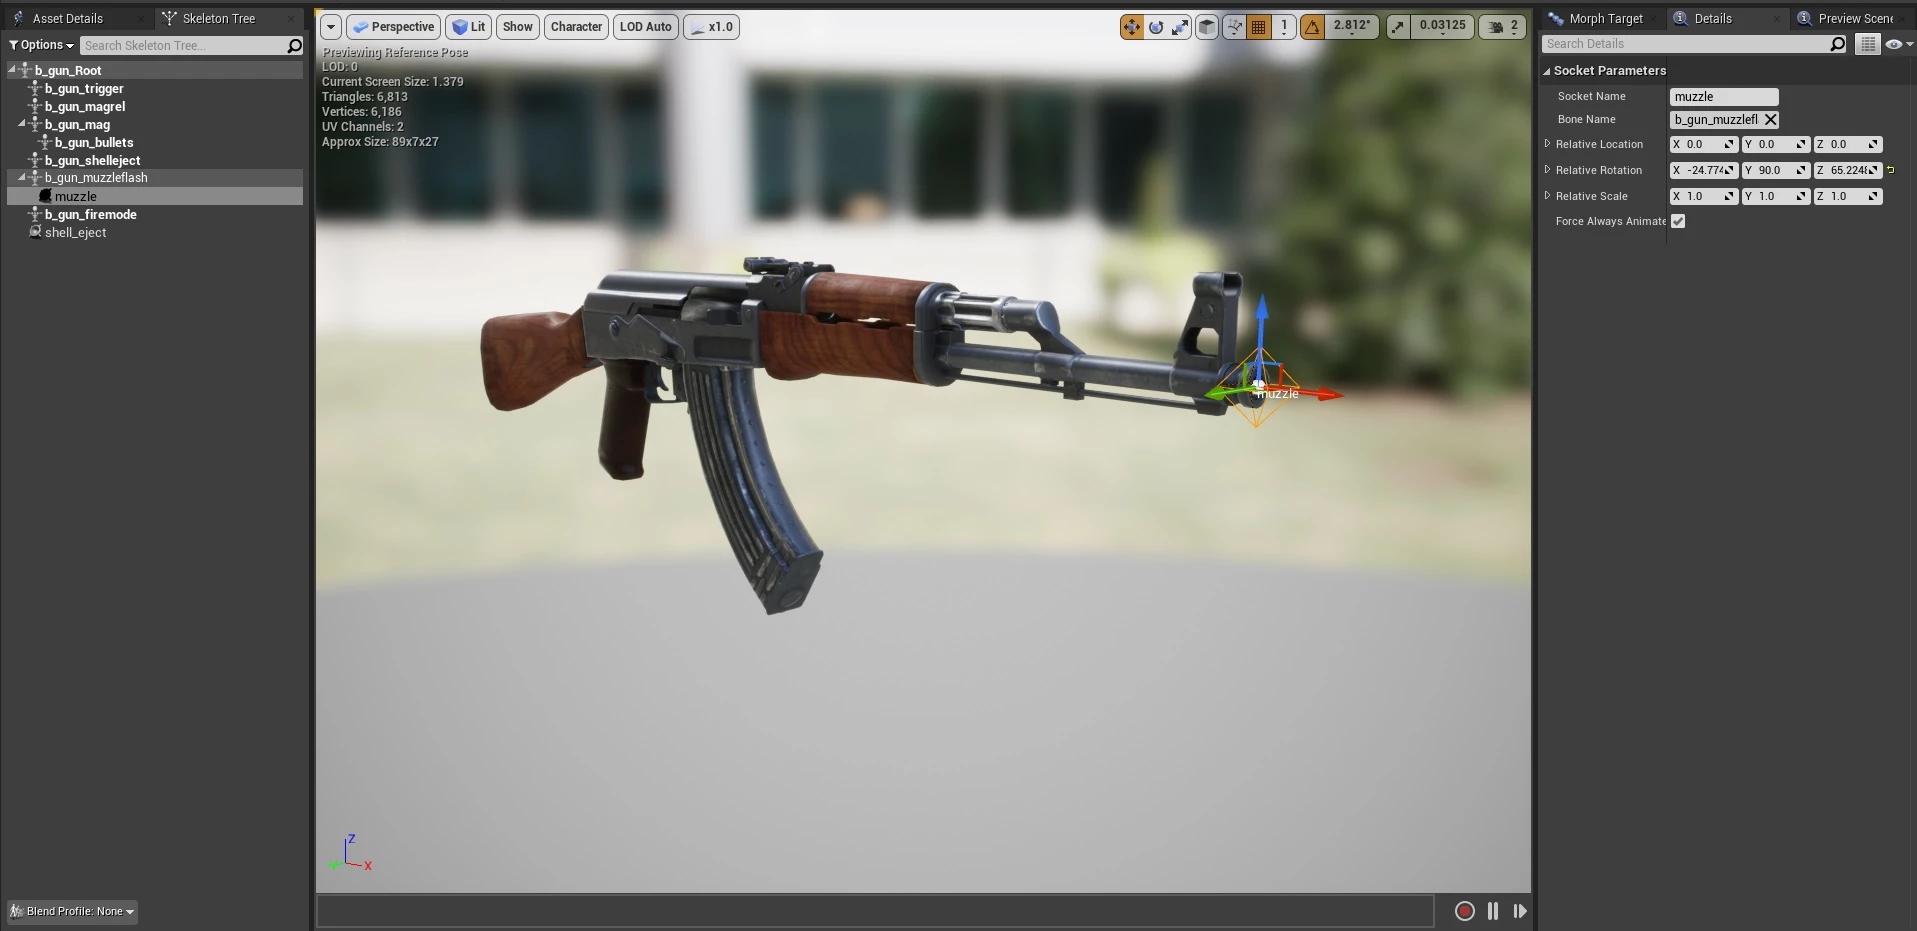
muzzle
The muzzle Socket is where the Particle Barrel will be attached. So create a socket and place it in the muzzle of the weapon:
- Pointing Red Axis (X) towards.
shell_eject
The shell_eject Socket is where the Particle Shells will be attached. So create a socket and place it in shells eject of the weapon:
- Pointing Red Axis (X) outwards where the shell will be eject to.
- And Pointing Green Axis (Y) the shell direction.

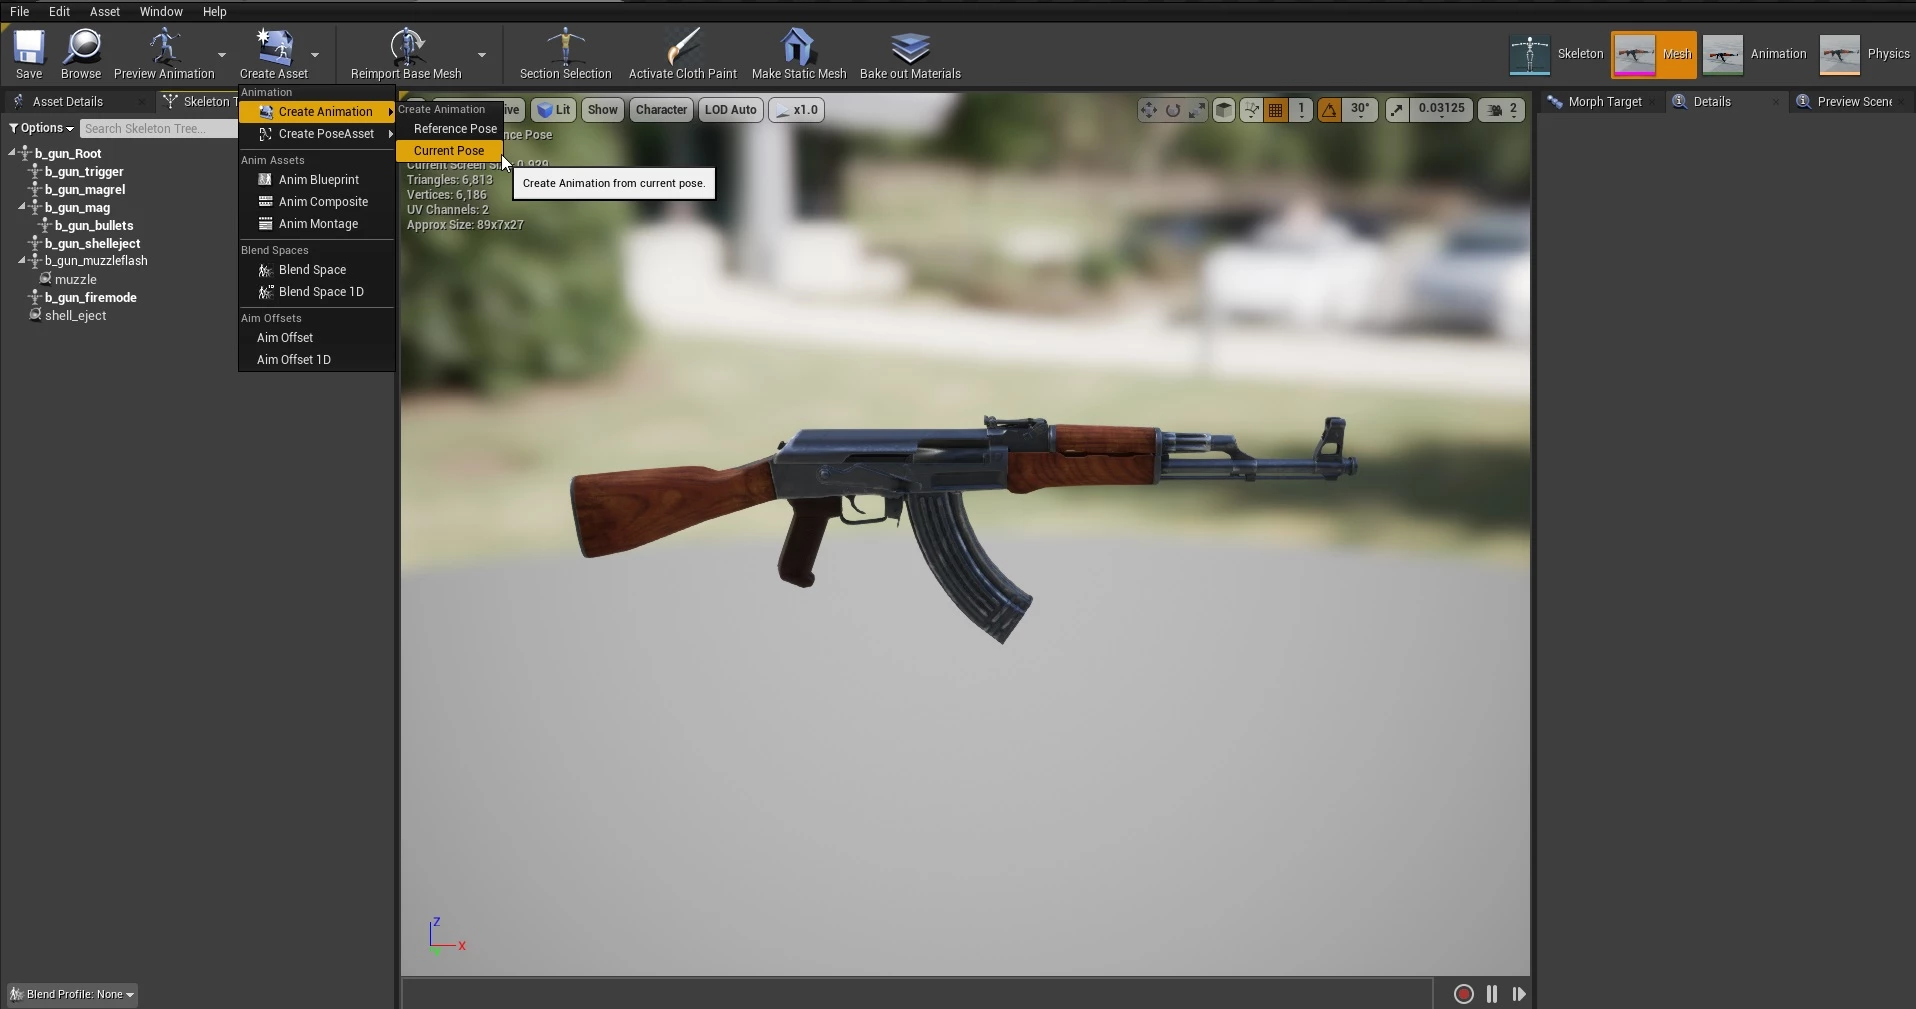
Fire Animation
It is possible to have a custom Fire Animation for your Weapon. Usually animating weapons is easy as it's movements are straight and stiff, you can do it through Unreal! For that, just open your Skeletal Mesh, then Create Asset and Create Animation and finally Current Pose. It will create an Animation Asset from the Weapon, empty.
This will open the Animation Editor like that:
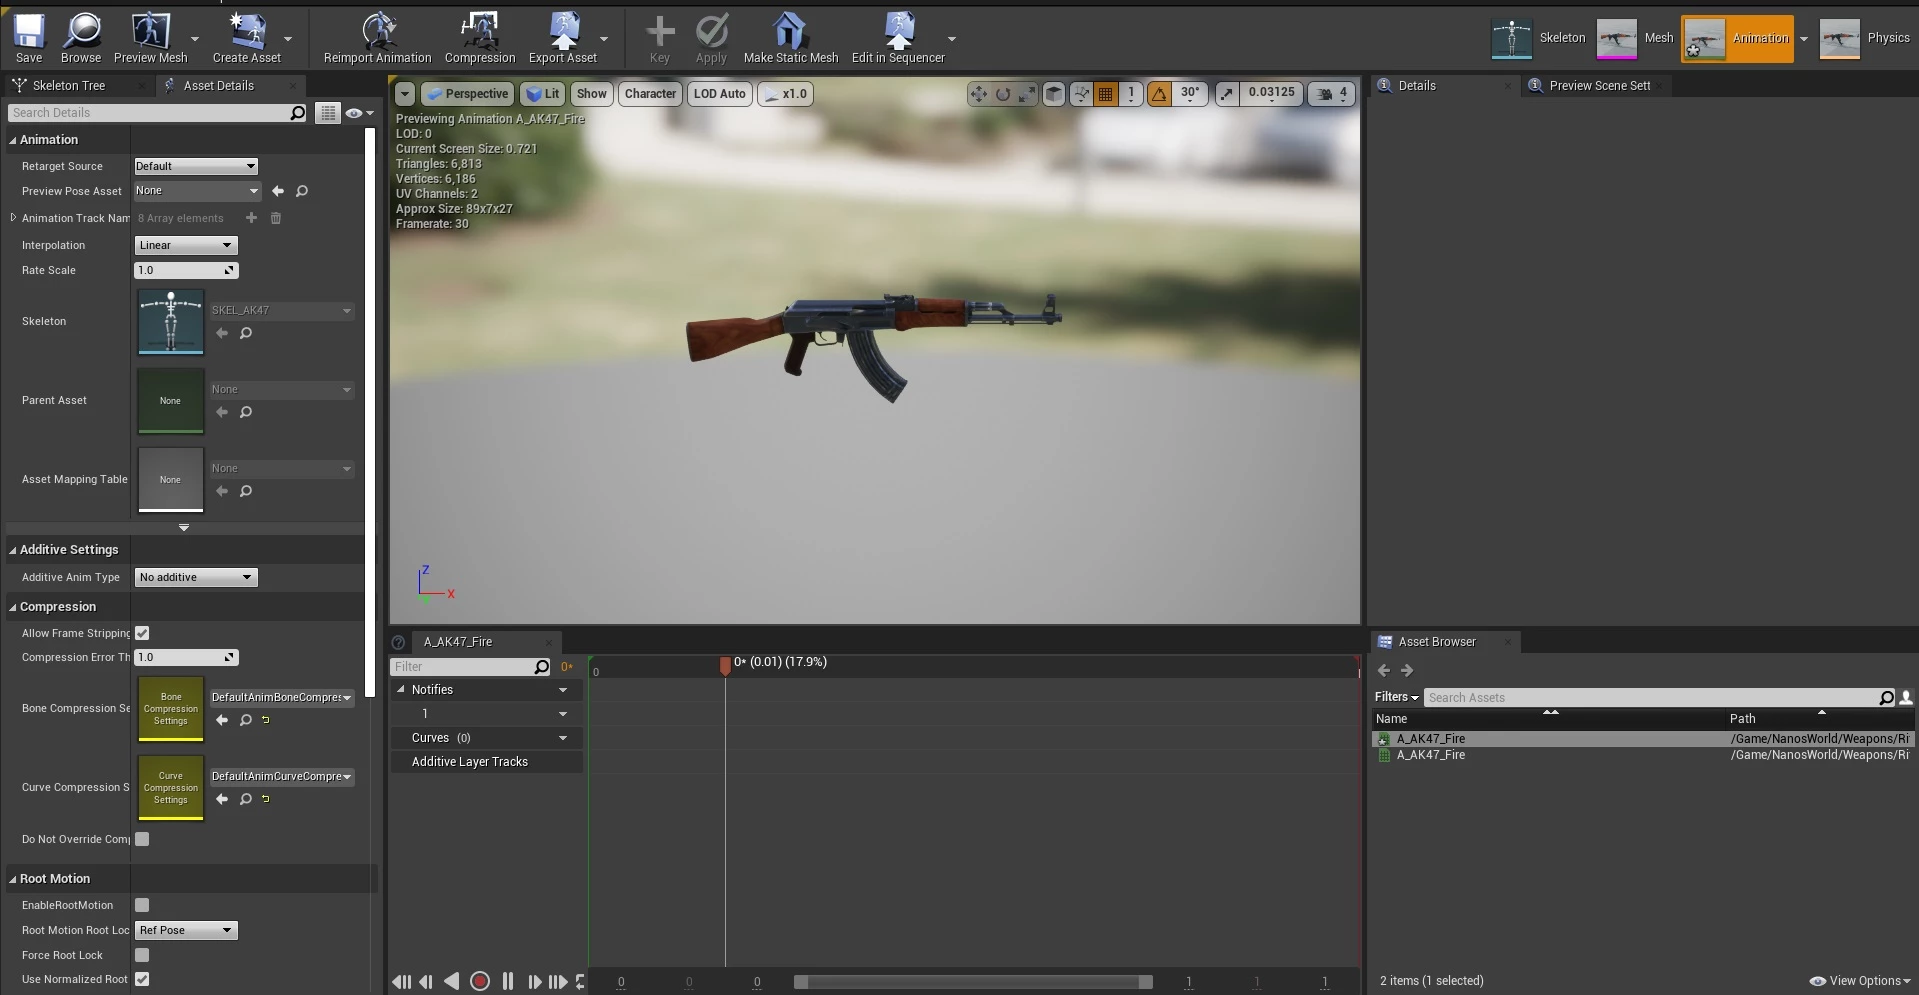
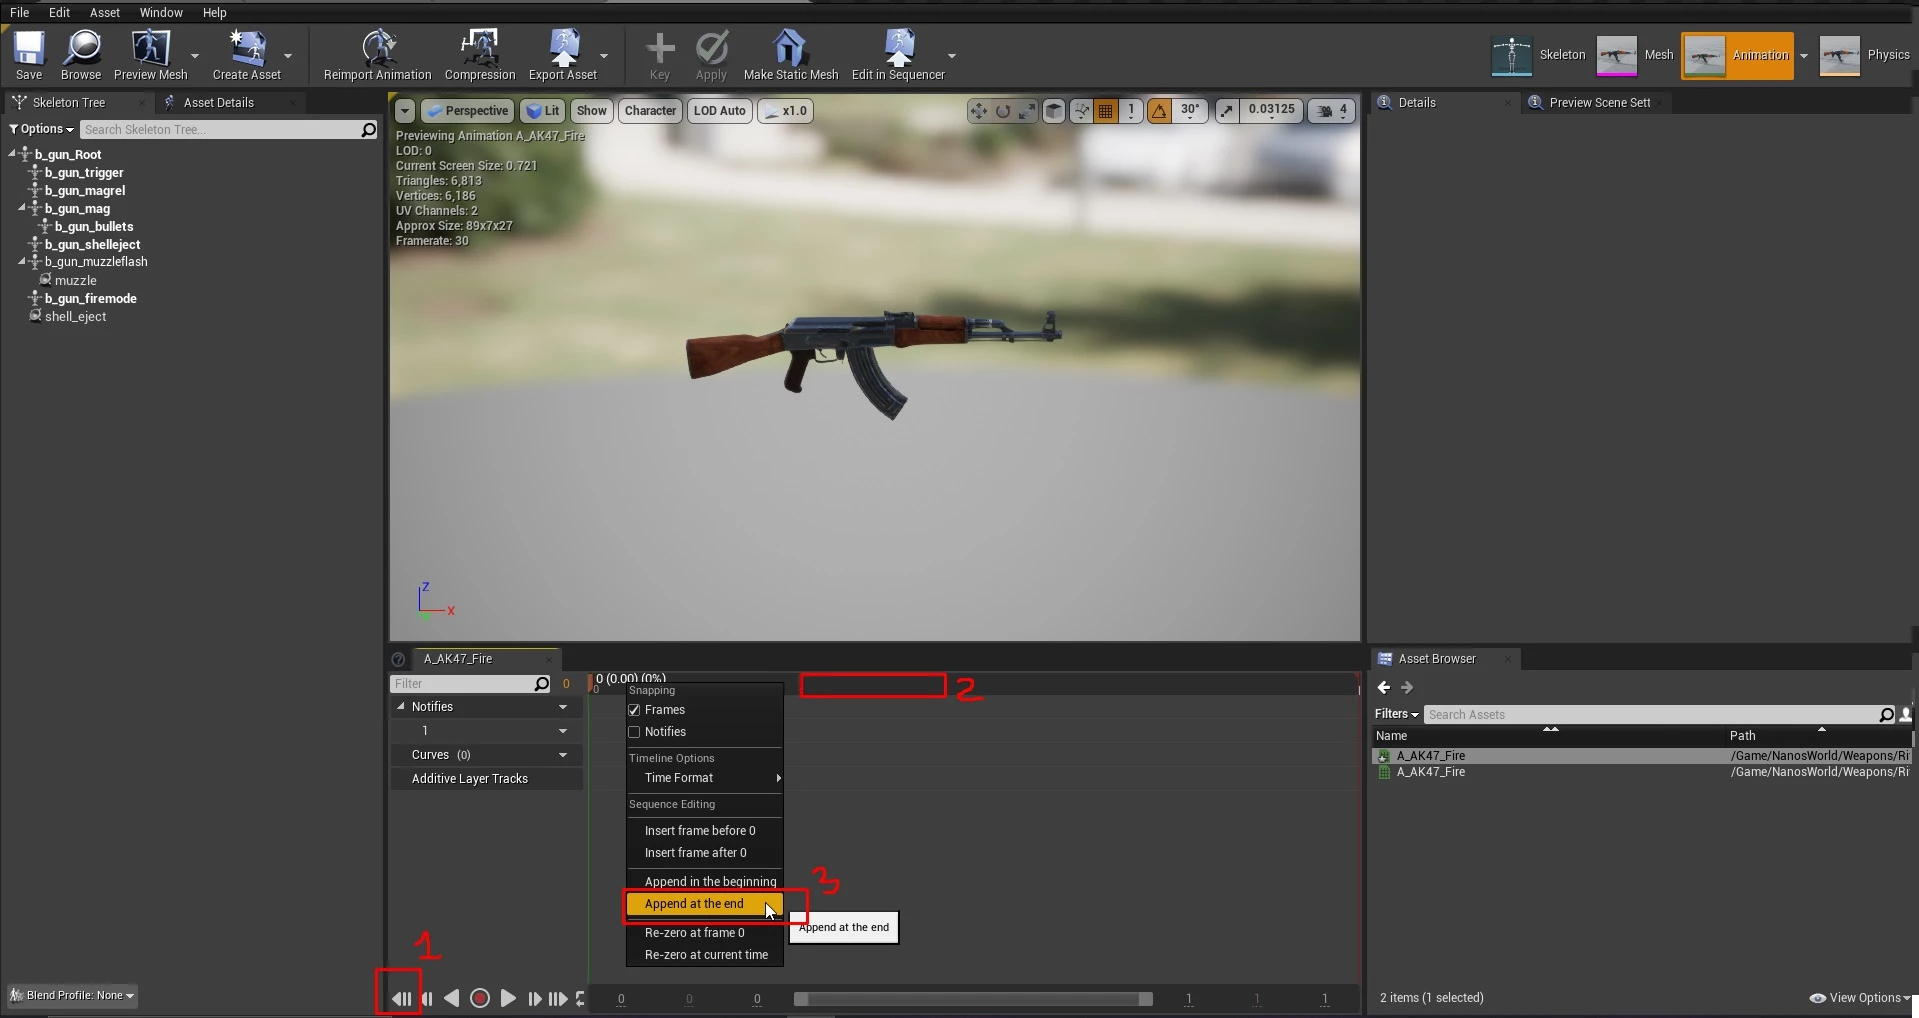
To start, Stop the animation from playing clicking in To Front (1), Right Click on the darker bar (2) and Select Append to the End (3), and input 3, this will add 3 frames to the animation:
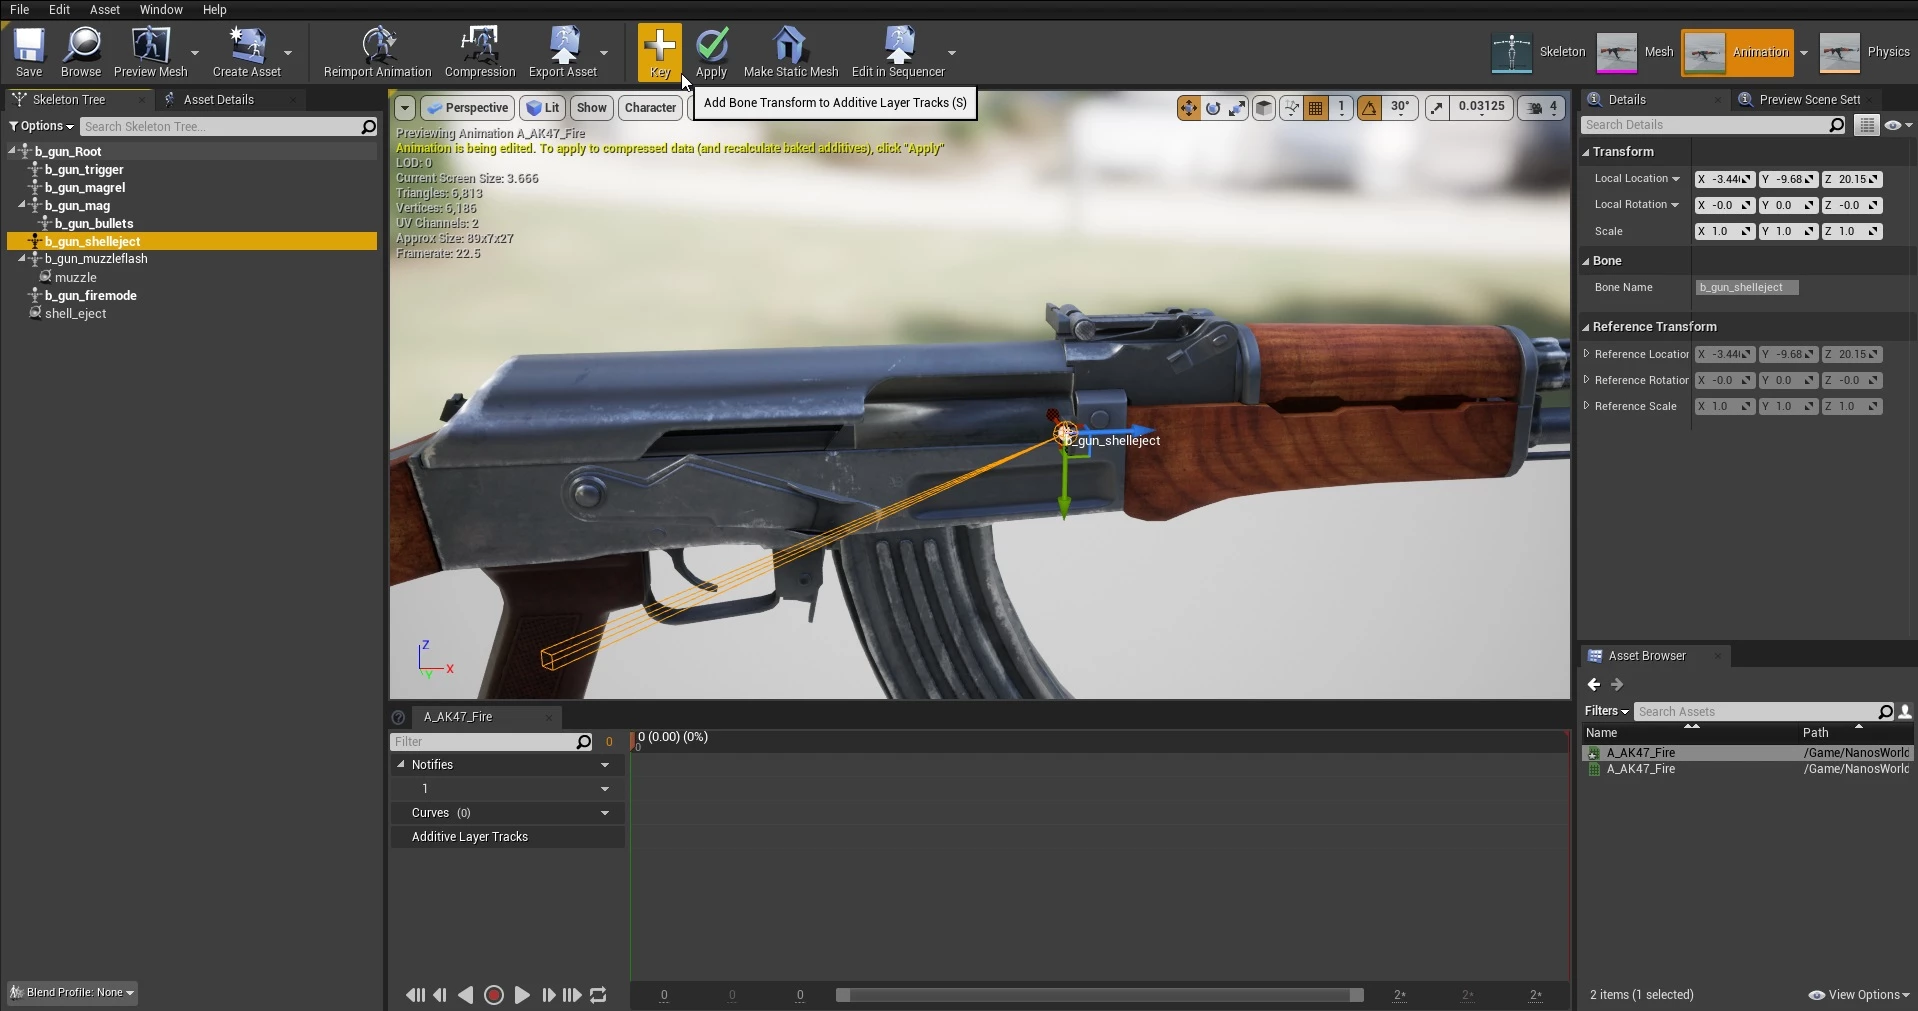
In this case of an AK-47, let's animate the b_gun_shelleject bone! For that, select it from Skeleton Tree window, and with the animation stopped at the beginning, click on + Key, this will add the selected bone as Animation key to the beginning of the animation:
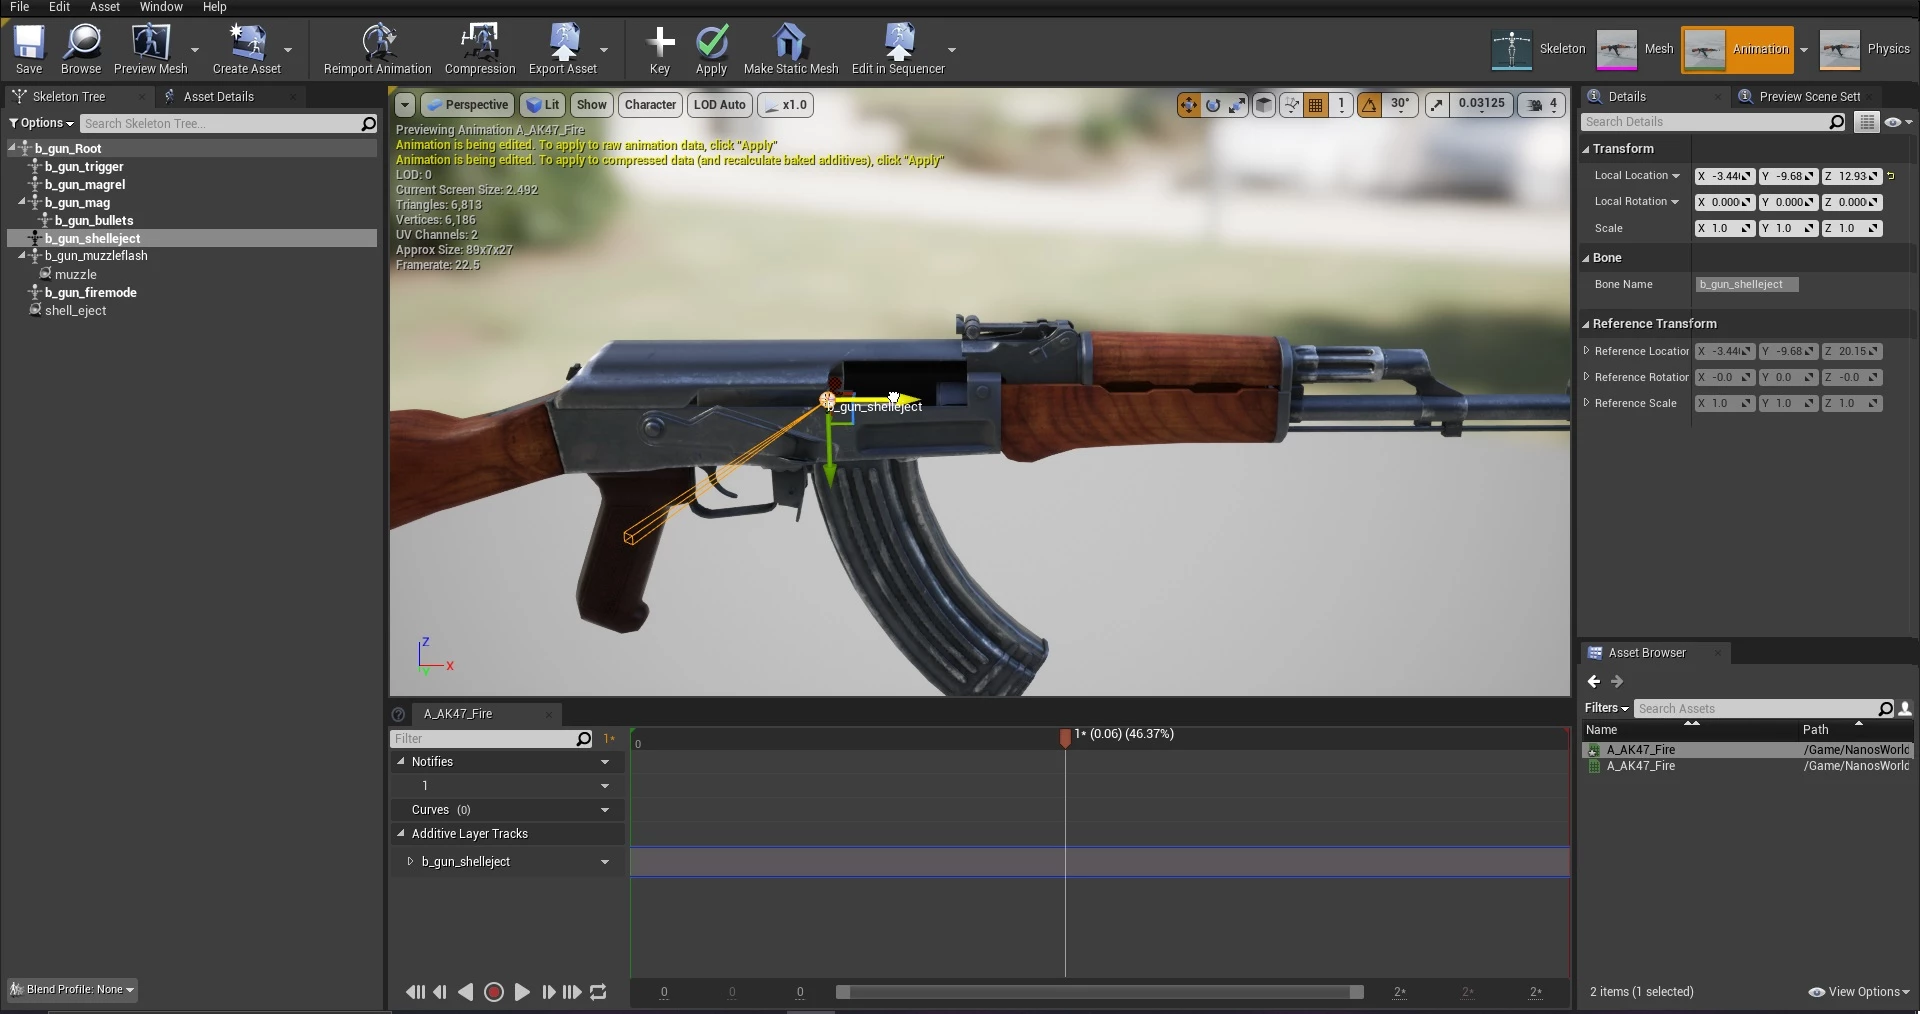
Now do the same, but with the animation in the end, this will make sure the first and last frame have b_gun_shelleject in the initial position:

Now move the Animation Timeline to the middle of the animation and move b_gun_shelleject a little bit, and finally press + Key:

And voila! If you press Play, you will notice it will loop playing your animation!

Exporting the Weapon
The Exporting process follows the usual process of exporting assets to nanos world. Please follow the Importing Custom Assets Guide.