HUD Basique (HTML)
Comment ajouter un HUD de base en utilisant HTML + JavaScript + CSS pour afficher la santé du personnage et les munitions basées sur le HUD de CS:GO.
L'exemple suivant est obsolète et vous pouvez trouver une mise à jour de l'interface HTML dans notre dépôt officiel Sandbox.
Création de l'interface
Dans le dossier Client de votre Package, créez un nouveau dossier (facultatif) appelé UI/ pour séparer les fichiers UI des fichiers Scripting (lua) :

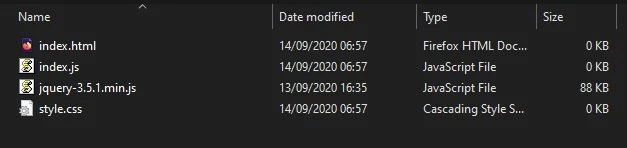
Inside UI/ let’s create the following files: index.html, style.css and index.js:
Pour cette interface, nous allons utiliser JQuery, téléchargez la dernière version et placez-la dans le dossier UI /.
<html>
    <head>
        <!-- Includes all files we created (JS, JQuery and CSS) -->
        <script src="jquery-3.5.1.min.js"></script>
        <script src="index.js"></script>
        <link rel="stylesheet" href="style.css">
    </head>
    <body>
        <!-- Health container (black background) -->
        <div id="health_container">
            <img src="health.png">
            <span id="health_current">100</span> <!-- Health value -->
        </div>

        <!-- Weapon Ammo container (black background) -->
        <div id="weapon_ammo_container">
            <span id="weapon_ammo_clip">30</span> <!-- Ammo Clip value -->
            <span id="weapon_ammo_bag">/ 1000</span> <!-- Ammo Bag value -->
        </div>
    </body>
</html>
Vous avez remarqué que nous utilisons une image health.png ? Vous pouvez la télécharger ici https://i. mgur.com/0BmQJVZ.png et placez-la également dans UI/.
Maintenant, ajoutons le style, pour cela, éditons style.css et ajoutons le code CSS suivant :
body {
    font-family: Tahoma, sans-serif;
    font-size: 14px;
    margin: 0px;
    padding: 0px;
    margin-bottom: 20px;
}

#weapon_ammo_container {
    display: none;
    position: absolute;
    right: 0px;
    bottom: 0px;
    width: 200px;
    height: 50px;
    background-image: linear-gradient(to right, #00000000, #00000080);
    text-align: right;
    line-height: 47px;
}

#weapon_ammo_bag {
    color: #ededed;
    font-weight: bold;
    font-size: 16px;
    margin-right: 30px;
    position: relative;
    top: -4px;
}

#weapon_ammo_clip {
    color: white;
    font-weight: bold;
    font-size: 32px;
}

#health_container {
    position: absolute;
    bottom: 0px;
    width: 200px;
    height: 50px;
    background-image: linear-gradient(to left, #00000000, #00000080);
}

#health_container img {
    height: 23px;
    margin: 13px;
}

#health_current {
    color: white;
    font-size: 32px;
    font-weight: bold;
    position: absolute;
    margin-top: 4px;
}
Enfin, dans l’Index.lua de votre paquet, faisons apparaître le WebUI :
-- Spawns a WebUI with the HTML file you just created
main_hud = WebUI("Main HUD", "file://UI/index.html")
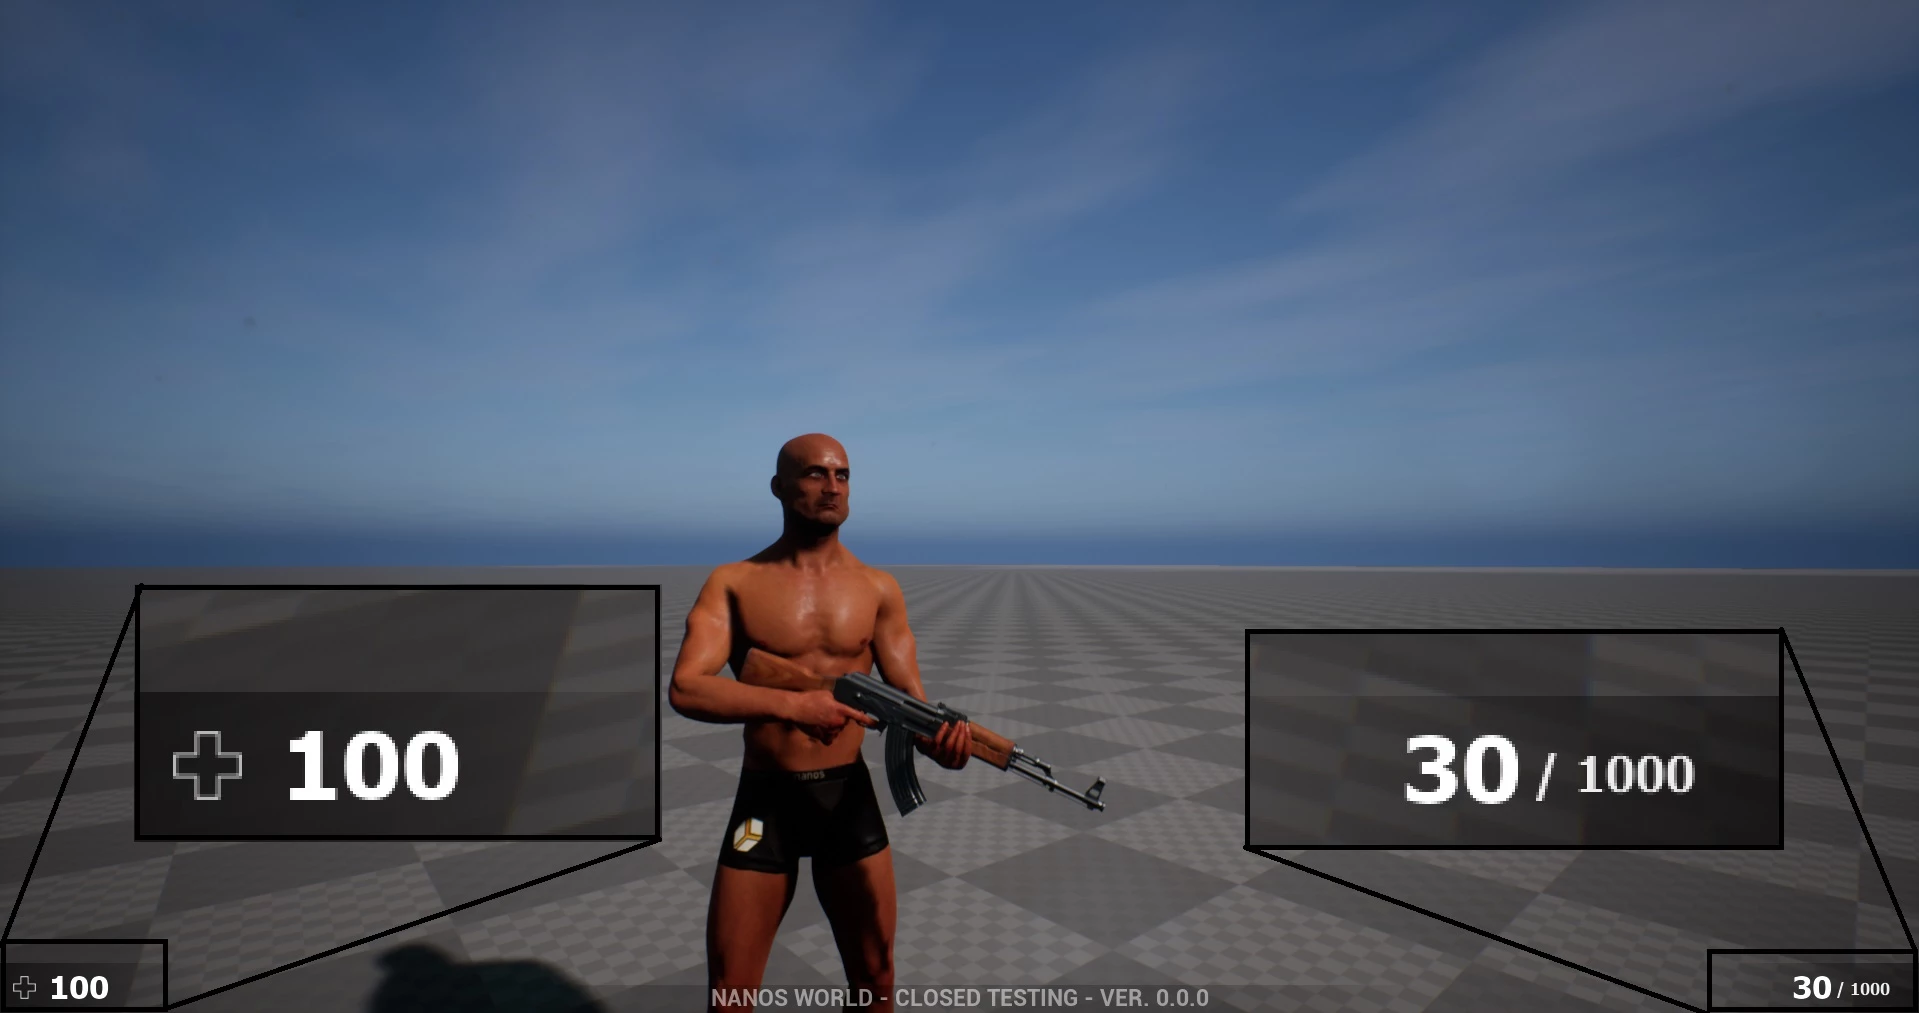
Résultat :
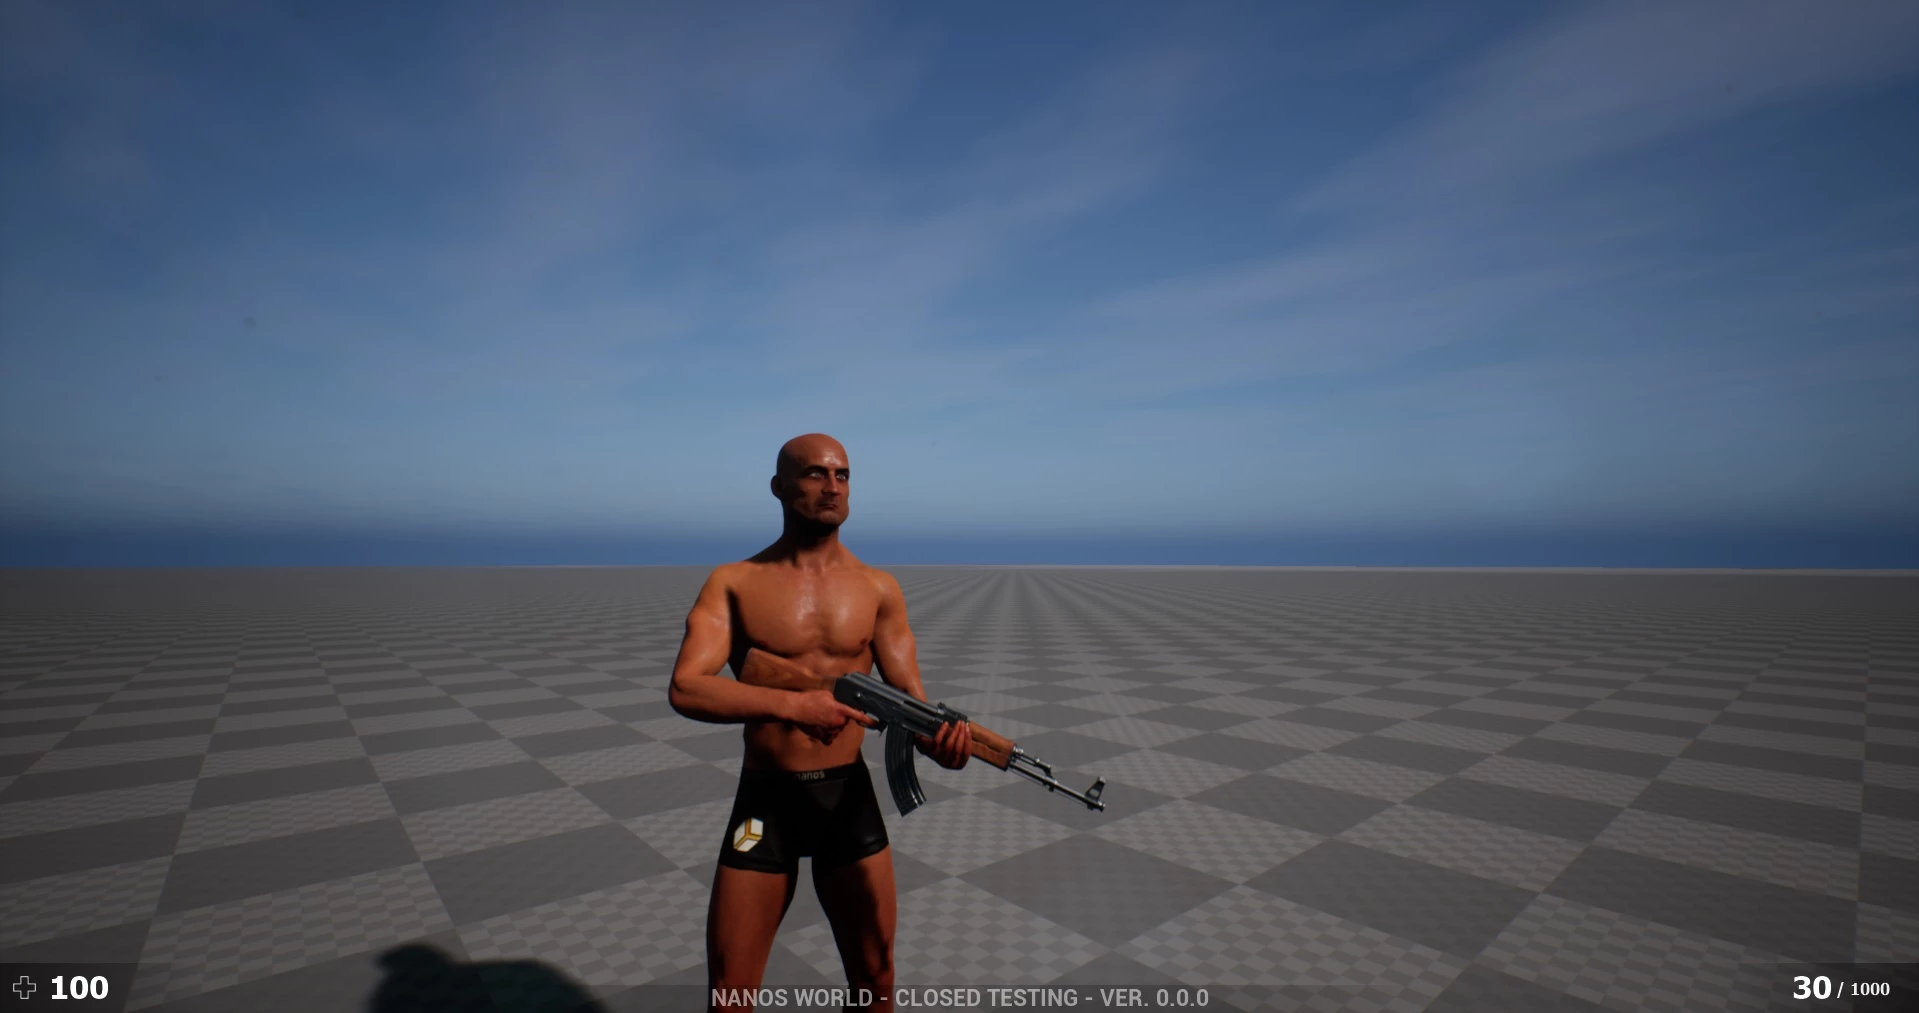
C'est juste des textes statiques! Rendons-les maintenant dynamiques et affichons les valeurs réelles !
Ajout d'événements et de callback pour communiquer avec votre package
Dans votre index.js, ajoutez le code JavaScript suivant :
// Register for UpdateWeaponAmmo custom event (from Lua)
Events.Subscribe("UpdateWeaponAmmo", function(enable, clip, bag) {
    if (enable)
        $("#weapon_ammo_container").show();
    else
        $("#weapon_ammo_container").hide();

    // Using JQuery, overrides the HTML content of these SPANs with the new Ammo values
    $("#weapon_ammo_clip").html(clip);
    $("#weapon_ammo_bag").html("/ " + bag);
});

// Register for UpdateHealth custom event (from Lua)
Events.Subscribe("UpdateHealth", function(health) {
    // Using JQuery, overrides the HTML content of the SPAN with the new health value
    $("#health_current").html(health);

    // Bonus: make the background red when health below 25
    if (health <= 25)
        $("#health_container").css("background-image", "linear-gradient(to left, #0000, #d00c)");
    else
        $("#health_container").css("background-image", "linear-gradient(to left, #00000000, #00000080)");
});
Maintenant que notre interface utilisateur est terminée, finissons notre code Lua pour gérer tout cela !
-- Spawns a WebUI with the HTML file you just created
main_hud = WebUI("Main HUD", "file://UI/index.html")


-- When LocalPlayer spawns, sets an event on it to trigger when we possesses a new character, to store the local controlled character locally. This event is only called once, see Package:Subscribe("Load") to load it when reloading a package
Client.Subscribe("SpawnLocalPlayer", function(local_player)
    local_player:Subscribe("Possess", function(player, character)
        UpdateLocalCharacter(character)
    end)
end)

-- When package loads, verify if LocalPlayer already exists (eg. when reloading the package), then try to get and store it's controlled character
Package.Subscribe("Load", function()
    local local_player = Client.GetLocalPlayer()
    if (local_player ~= nil) then
        UpdateLocalCharacter(local_player:GetControlledCharacter())
    end
end)

-- Function to set all needed events on local character (to update the UI when it takes damage or dies)
function UpdateLocalCharacter(character)
    -- Verifies if character is not nil (eg. when GetControllerCharacter() doesn't return a character)
    if (character == nil) then return end

    -- Updates the UI with the current character's health
    UpdateHealth(character:GetHealth())

    -- Sets on character an event to update the health's UI after it takes damage
    character:Subscribe("TakeDamage", function(charac, damage, type, bone, from_direction, instigator, causer)
        UpdateHealth(math.max(charac:GetHealth() - damage, 0))
    end)

    -- Sets on character an event to update the health's UI after it dies
    character:Subscribe("Death", function(charac)
        UpdateHealth(0)
    end)

    -- Try to get if the character is holding any weapon
    local current_picked_item = character:GetPicked()

    -- If so, update the UI
    if (current_picked_item and current_picked_item:GetType() == "Weapon") then
        UpdateAmmo(true, current_picked_item:GetAmmoClip(), current_picked_item:GetAmmoBag())
    end

    -- Sets on character an event to update his grabbing weapon (to show ammo on UI)
    character:Subscribe("PickUp", function(charac, object)
        if (object:GetType() == "Weapon") then
            UpdateAmmo(true, object:GetAmmoClip(), object:GetAmmoBag())
        end
    end)

    -- Sets on character an event to remove the ammo ui when he drops it's weapon
    character:Subscribe("Drop", function(charac, object)
        UpdateAmmo(false)
    end)

    -- Sets on character an event to update the UI when he fires
    character:Subscribe("Fire", function(charac, weapon)
        UpdateAmmo(true, weapon:GetAmmoClip(), weapon:GetAmmoBag())
    end)

    -- Sets on character an event to update the UI when he reloads the weapon
    character:Subscribe("Reload", function(charac, weapon, ammo_to_reload)
        UpdateAmmo(true, weapon:GetAmmoClip(), weapon:GetAmmoBag())
    end)
end

-- Function to update the Ammo's UI
function UpdateAmmo(enable_ui, ammo, ammo_bag)
    main_hud:CallEvent("UpdateWeaponAmmo", {enable_ui, ammo, ammo_bag})
end

-- Function to update the Health's UI
function UpdateHealth(health)
    main_hud:CallEvent("UpdateHealth", {health})
end
That's it! N'hésitez pas à l'utiliser dans vos packages !